This is the third post on the series Continuous Integration & Delivery with Xamarin. In our last post we discussed what we were going to build.
In this post we are going to
- Setup a Bitrise.io account
- Perform our first build with Bitrise.io
What is Bitrise.io?
Bitrise.io is an online continuous and mobile delivery service that gets your source code from your repository into a brand new virtual machine for each build - basically a Phoenix server for your mobile builds.
This means that your builds are very reliable and won't suffer from the "it works on my machine" syndrome. Setup is a breeze and you can have your first build up and running literally in minutes.
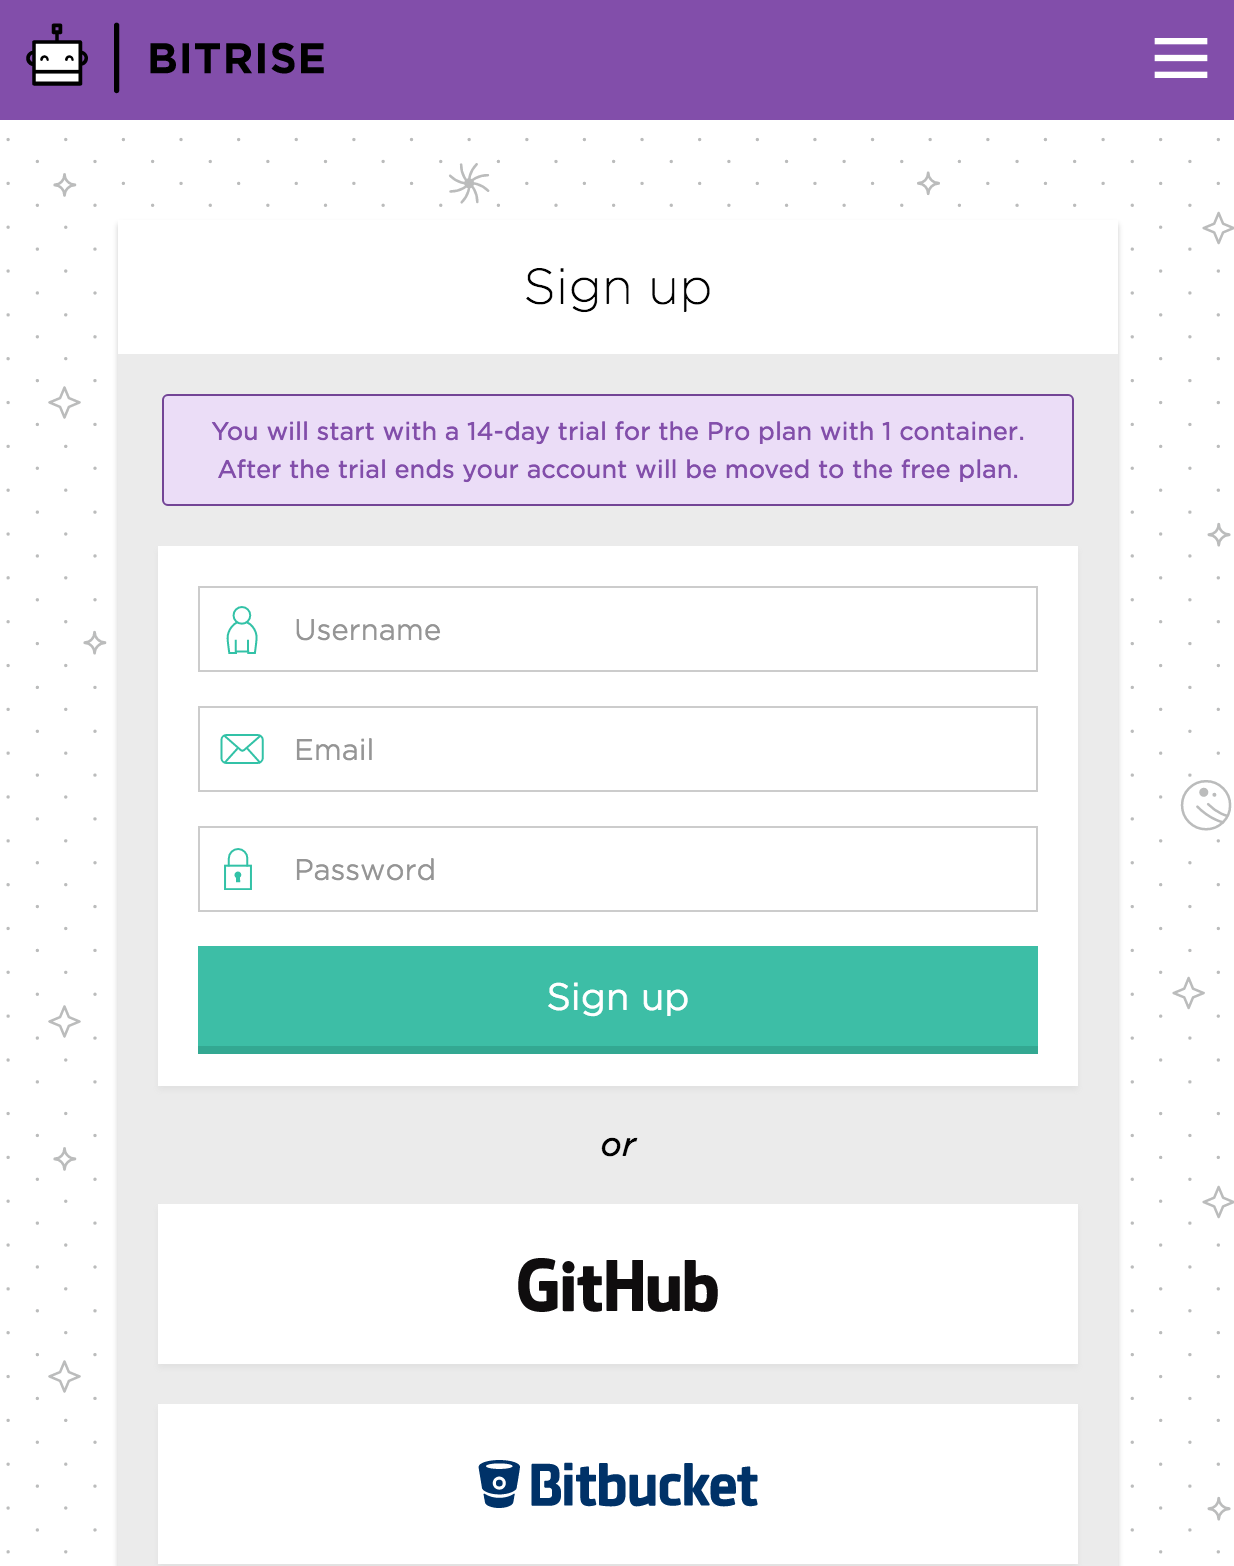
Lets Get Started
- Head over to Bitrise.io to signup for an account
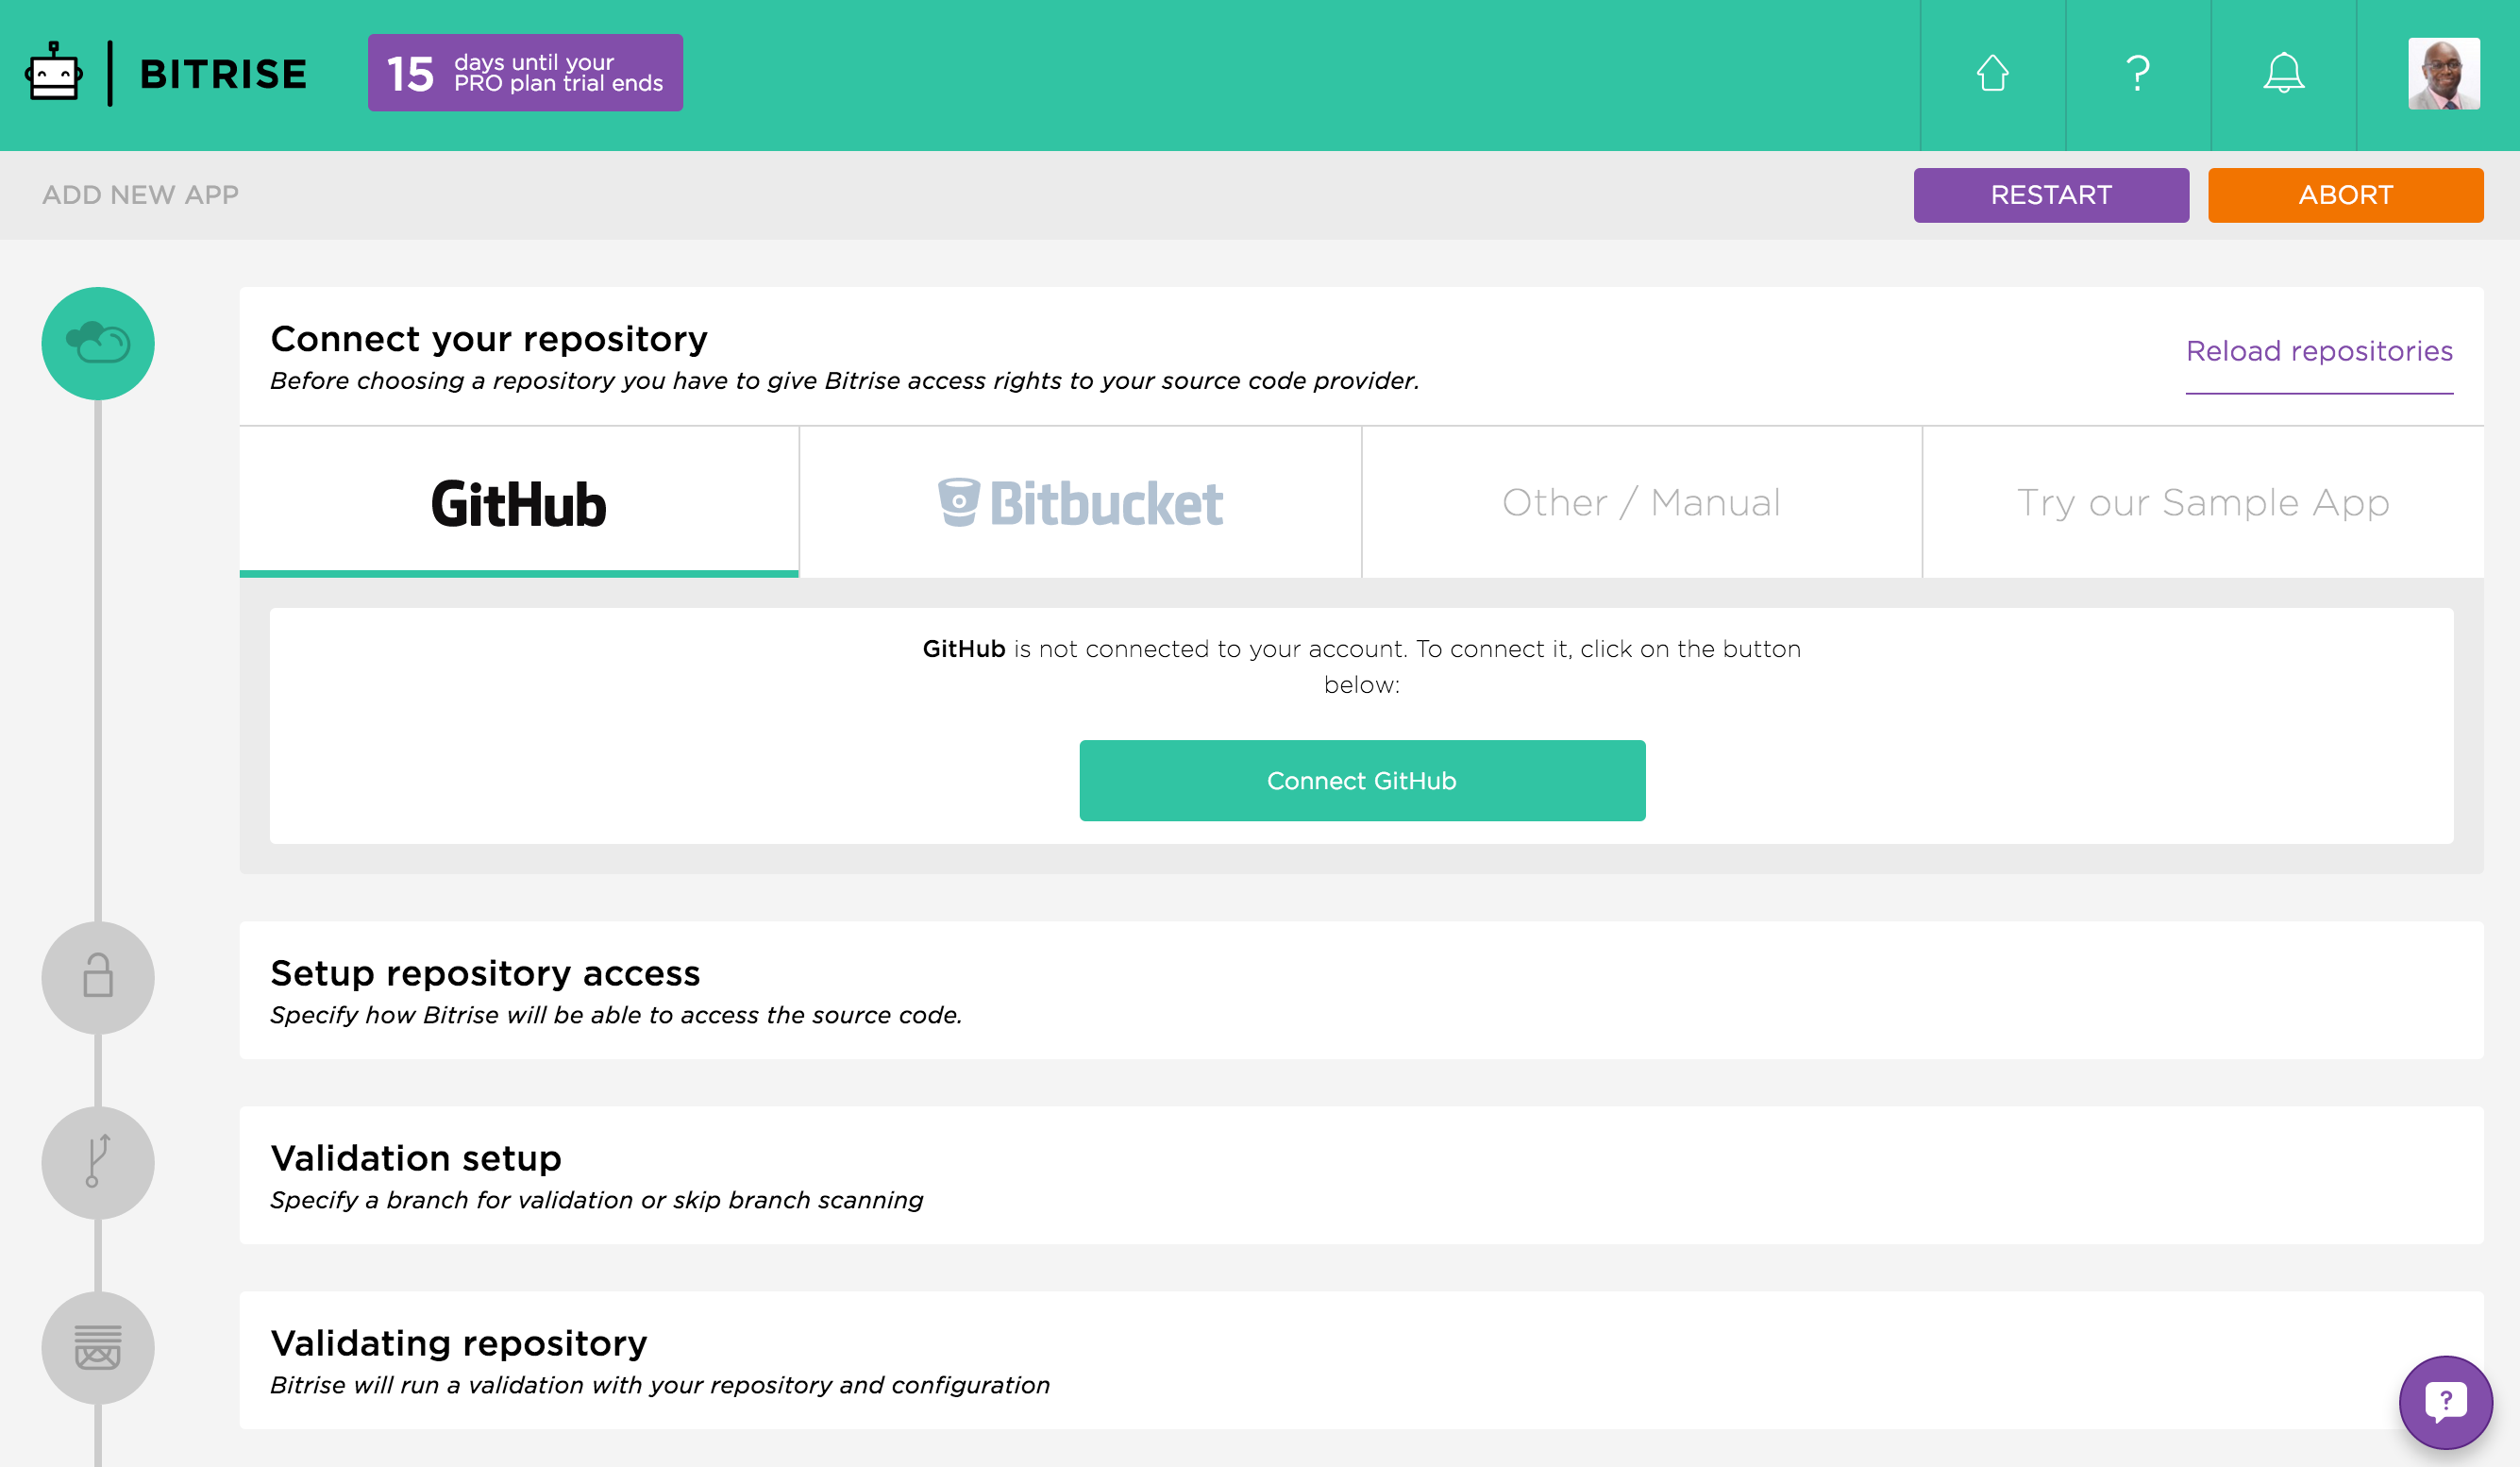
- Connect Bitrise.io to your source control provider (eg BitBucket, Github, etc) and select the forked Todo repository from one of your accounts.
- Secure access to your repository. Bitrise.io will generate an SSH Keypair for you. Click the "Auto-add this key" to add it to your repository.
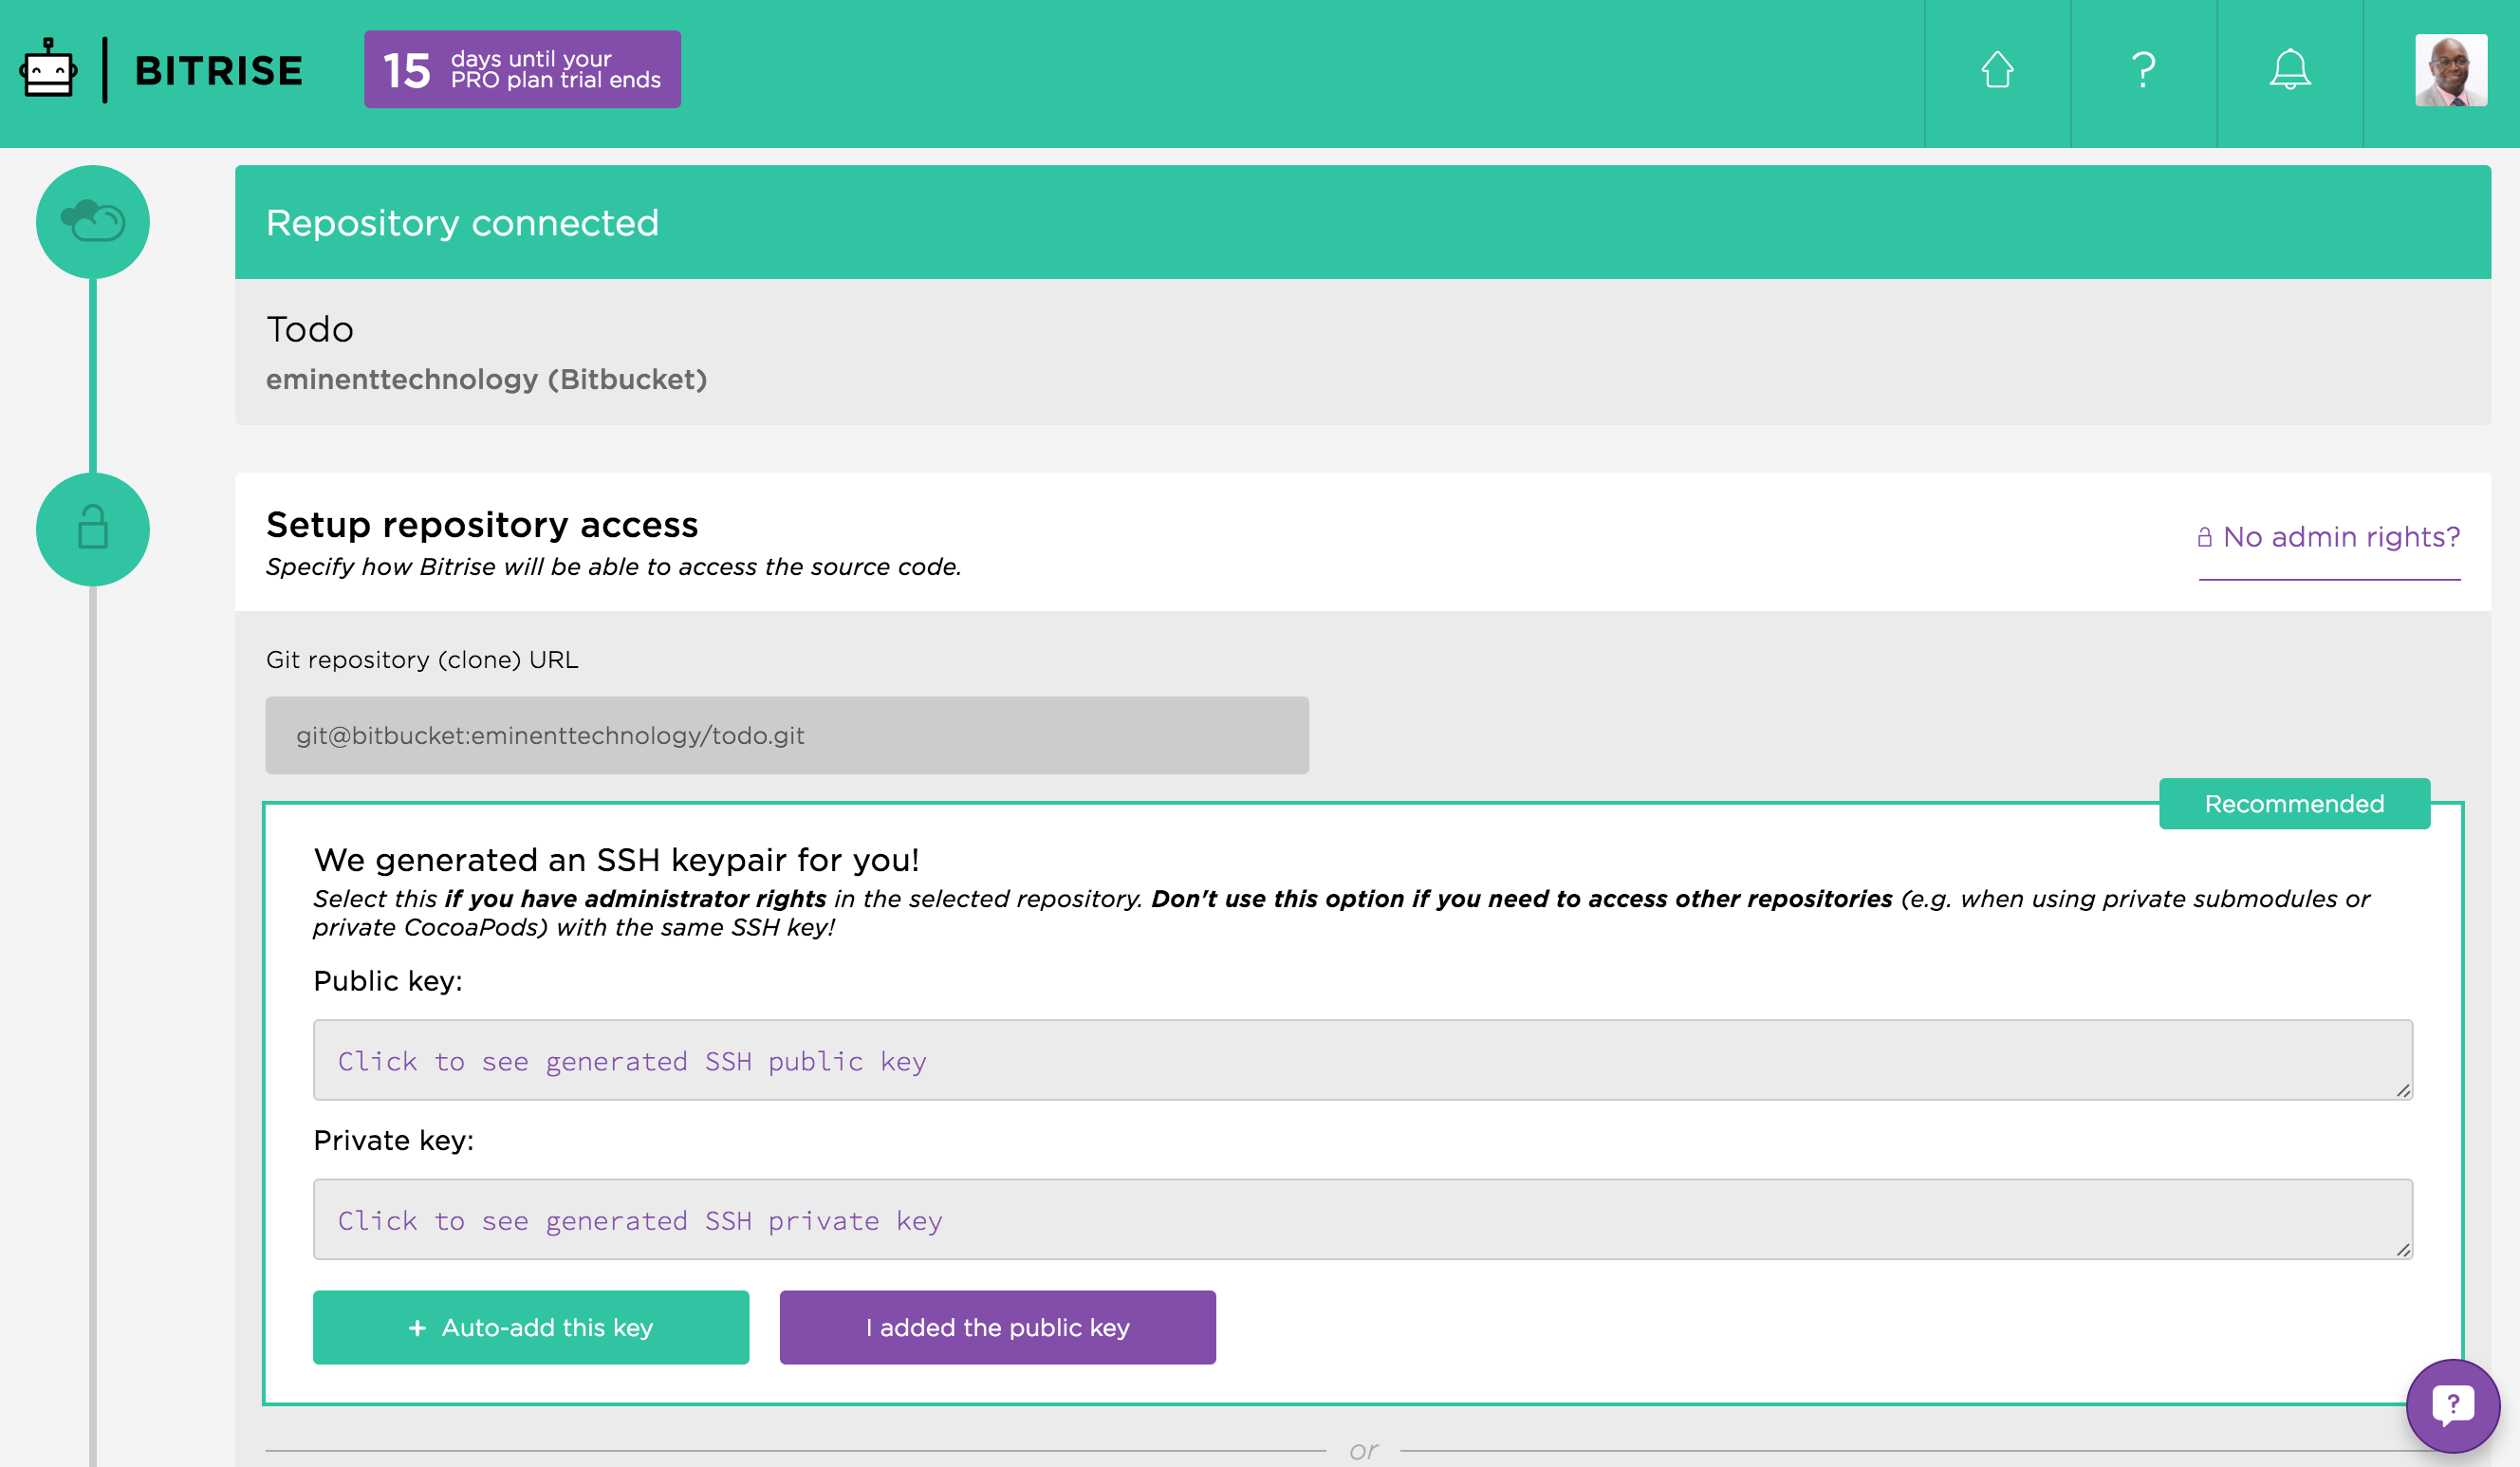
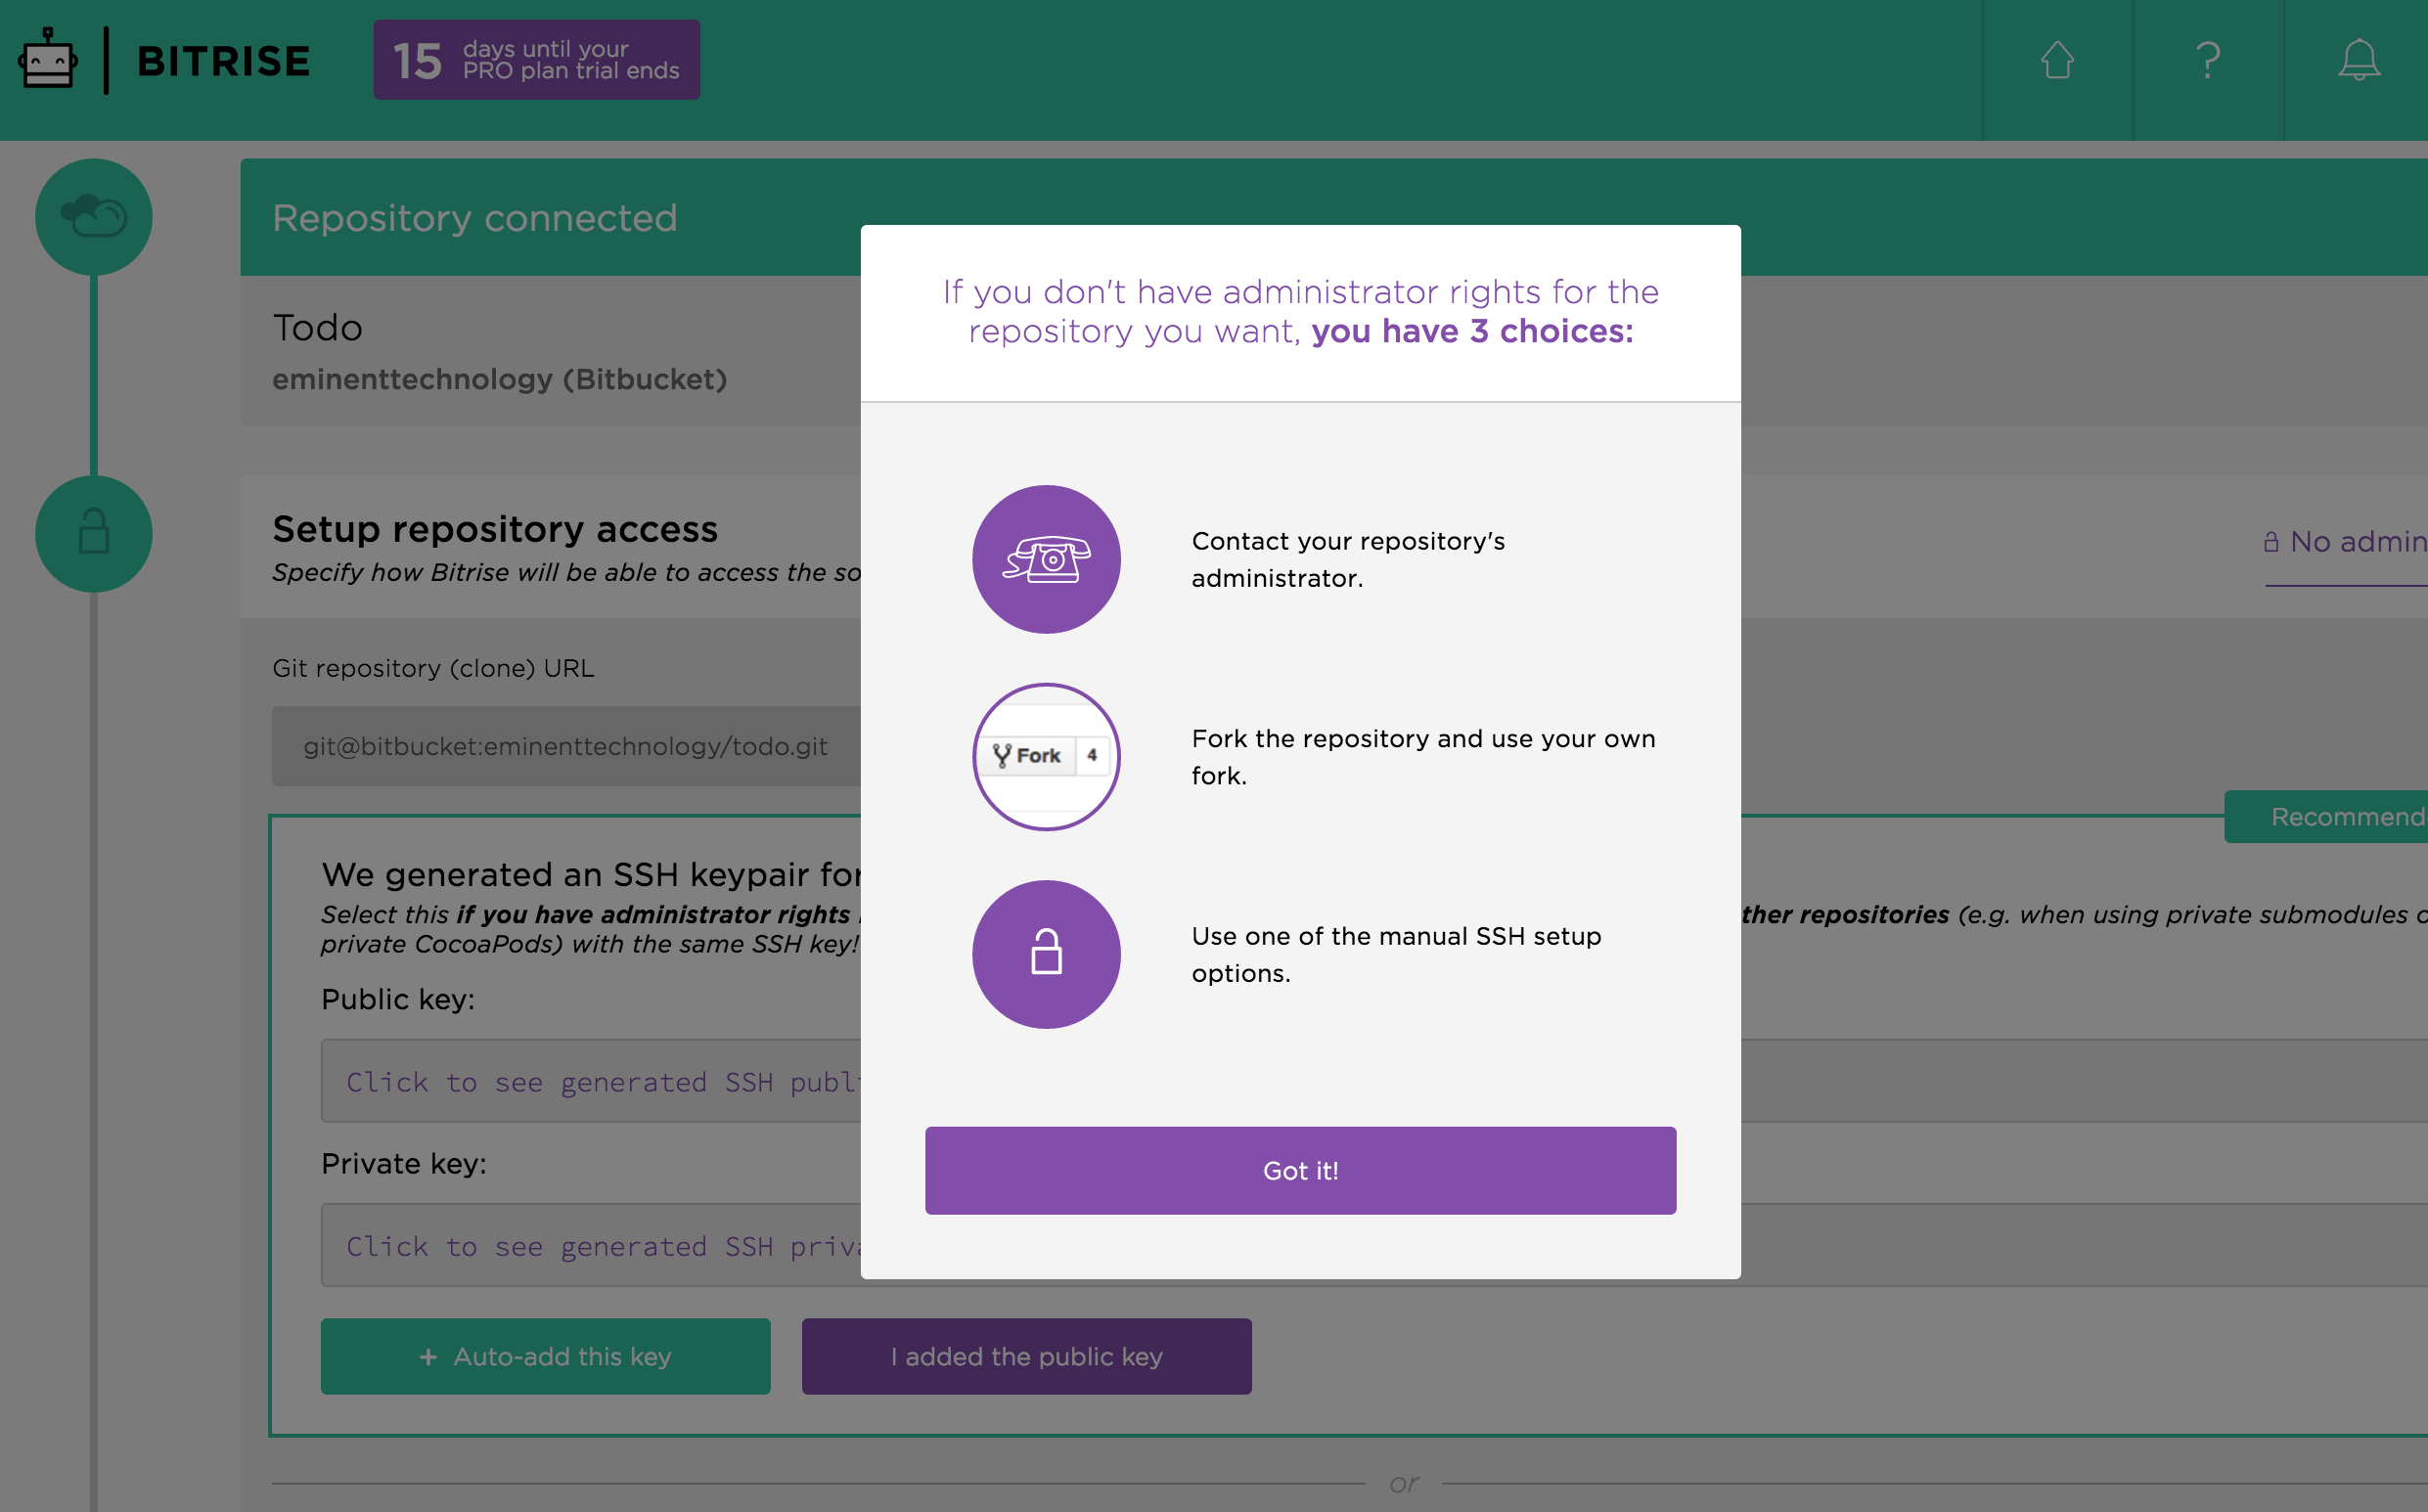
- Make sure you have administrative access to your forked version of the Todo repository
- Select a default branch from the repository - typically master
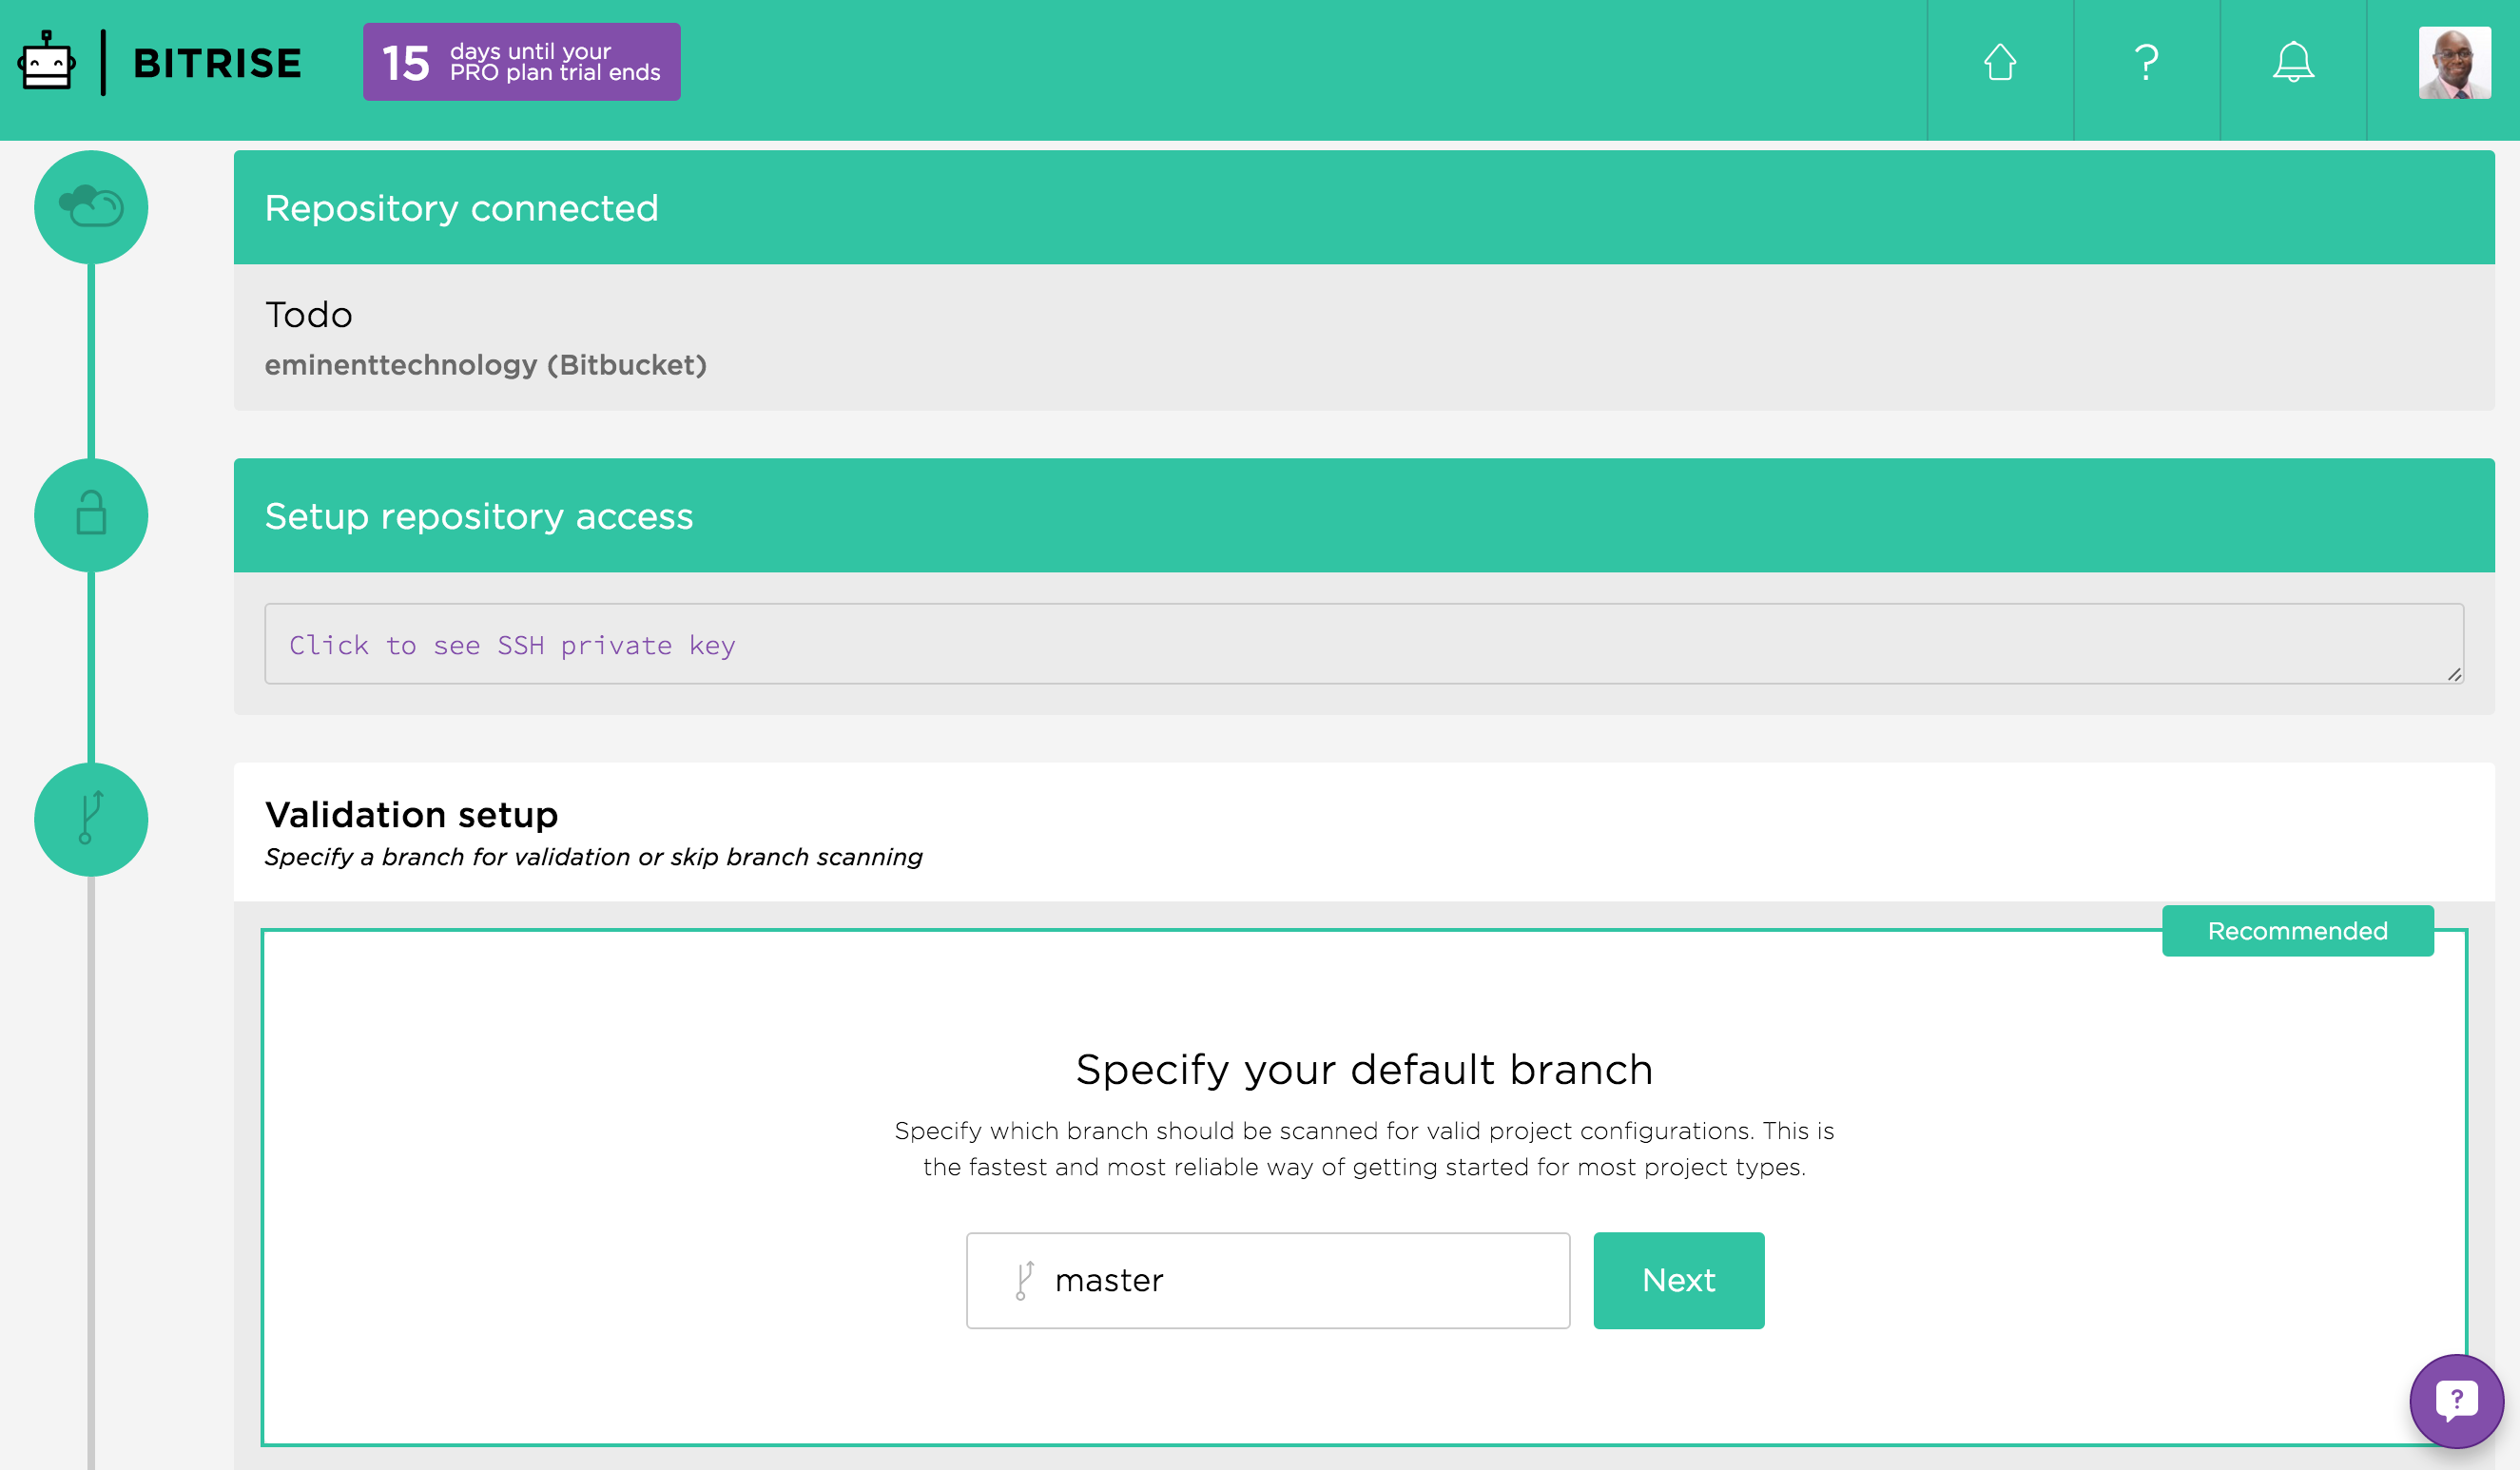
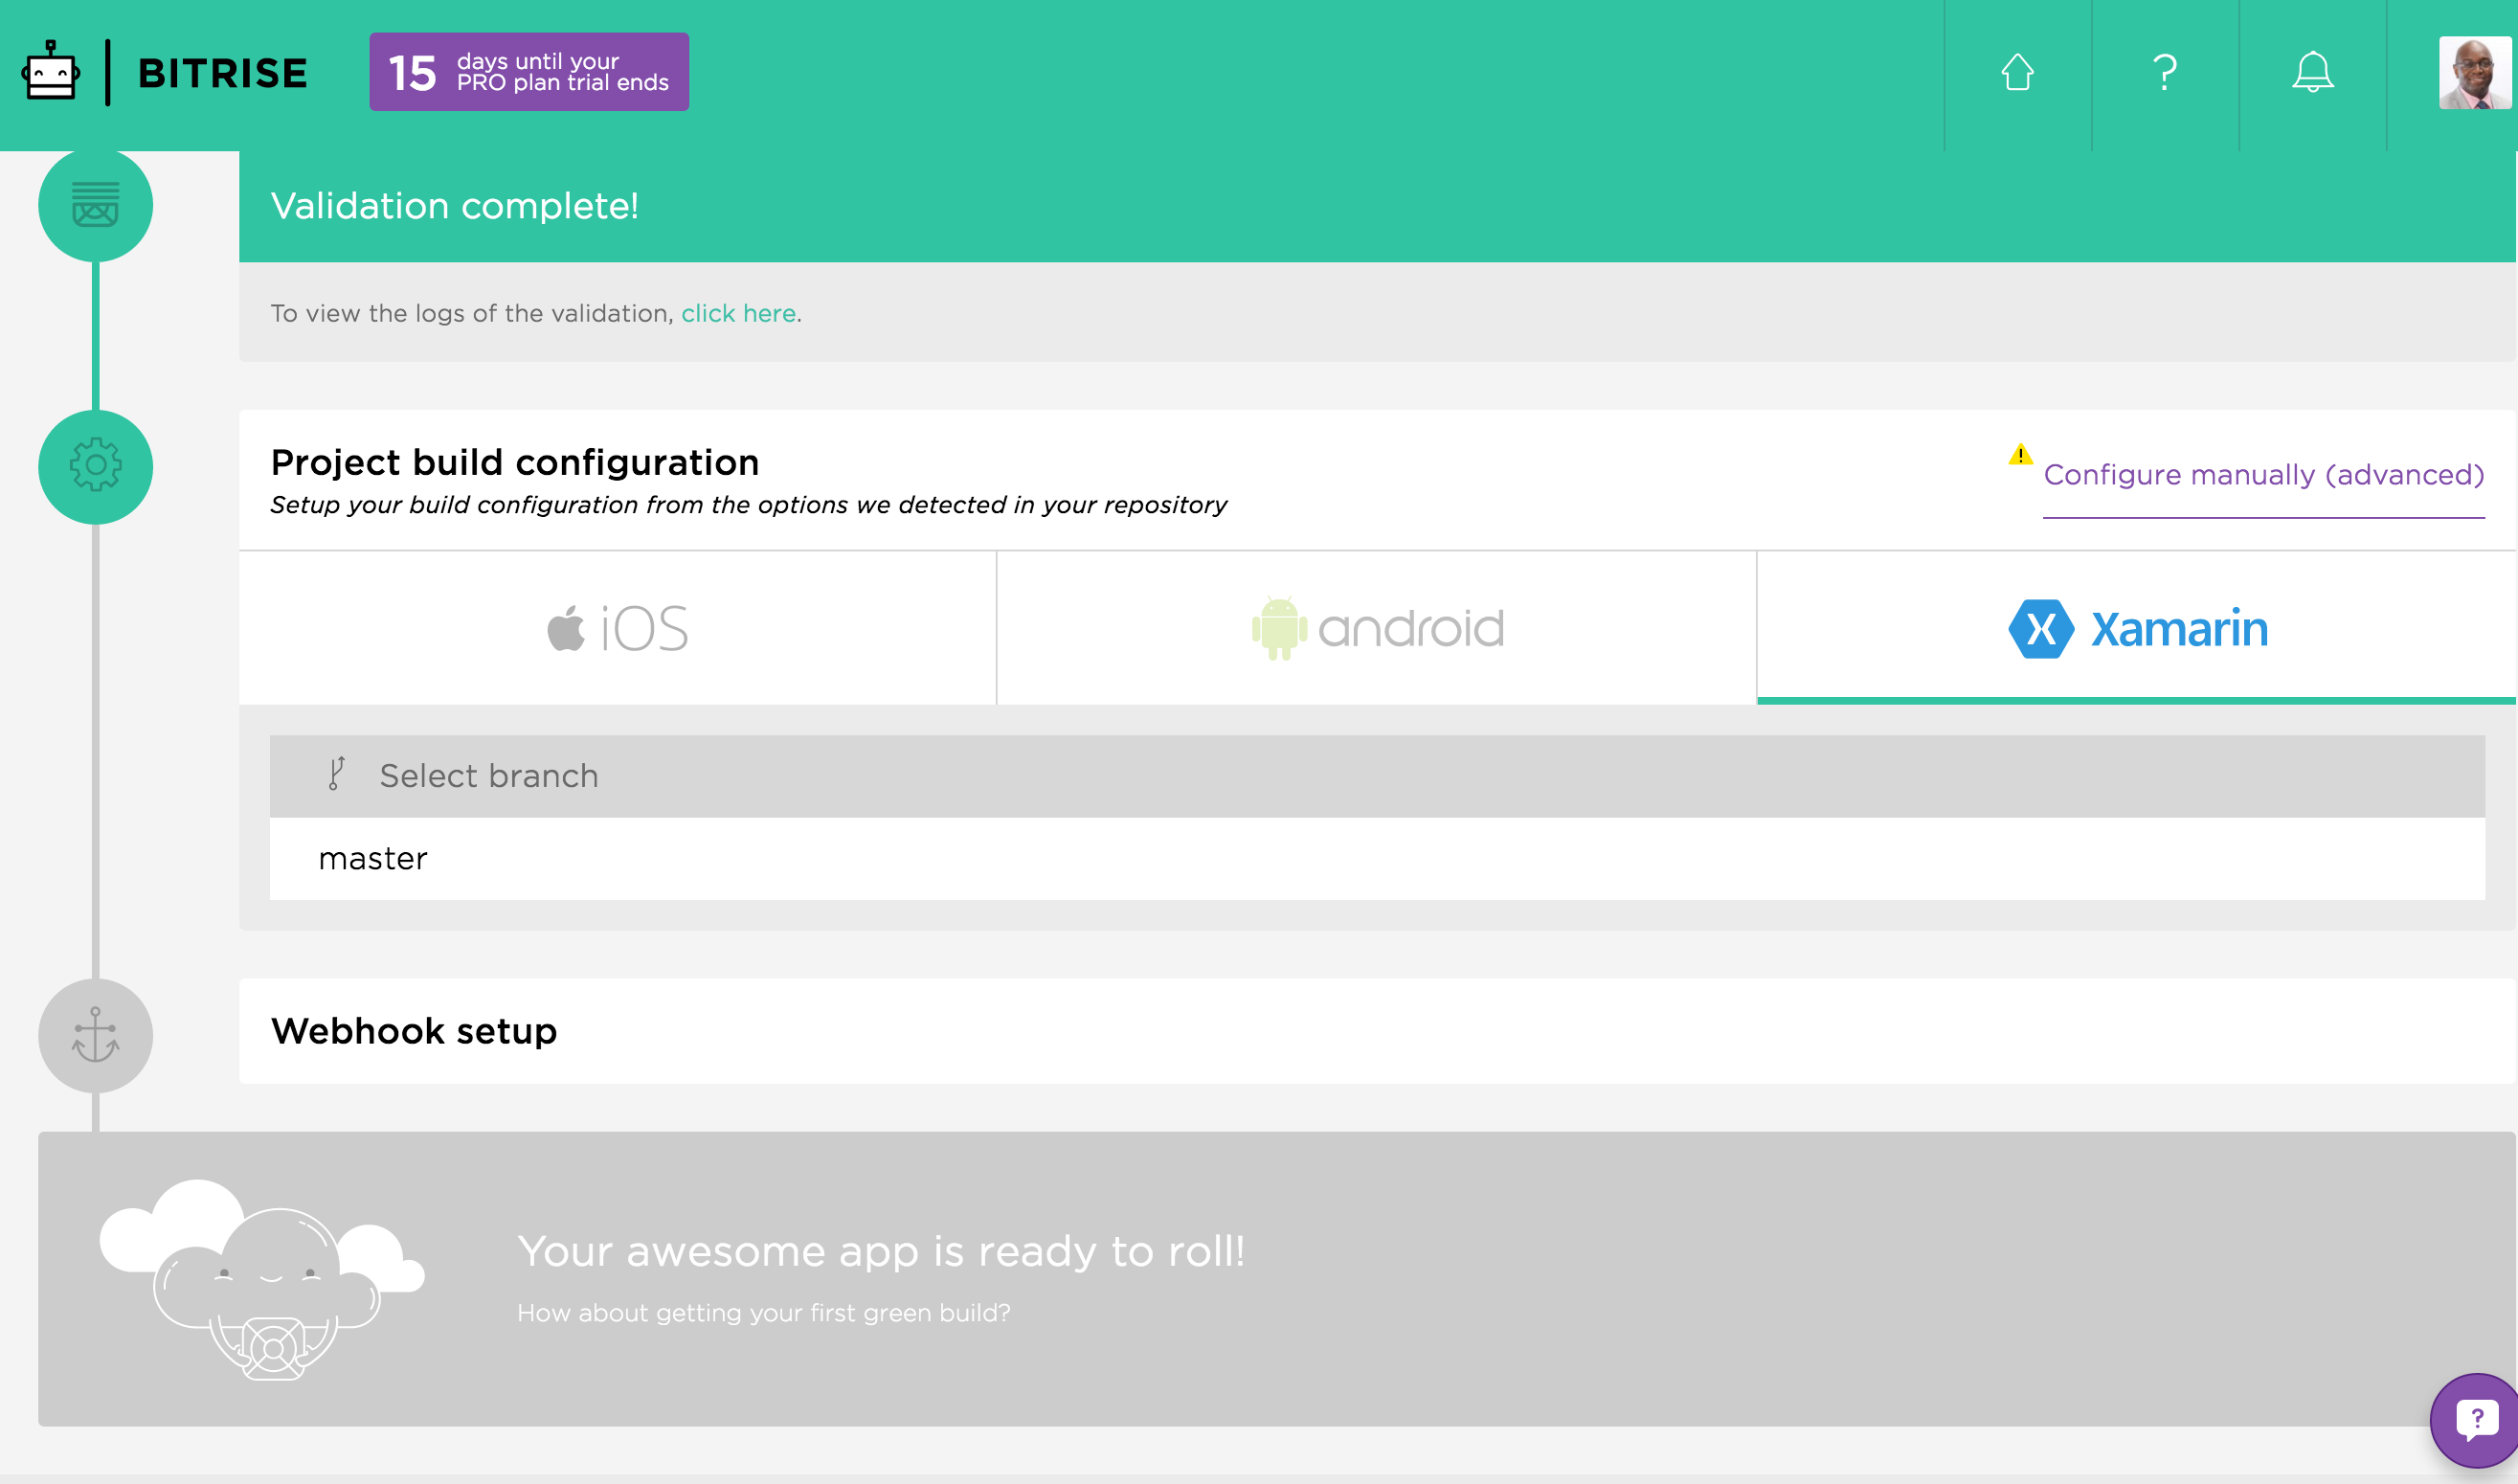
- Selecting a branch will validate your repository. You should see a pretty cool web-based console window show up.

- Once your repository has been validated it will provide a list of platforms - it should detect that your repository contains a Xamarin project. Go ahead and select Xamarin and select the master branch.
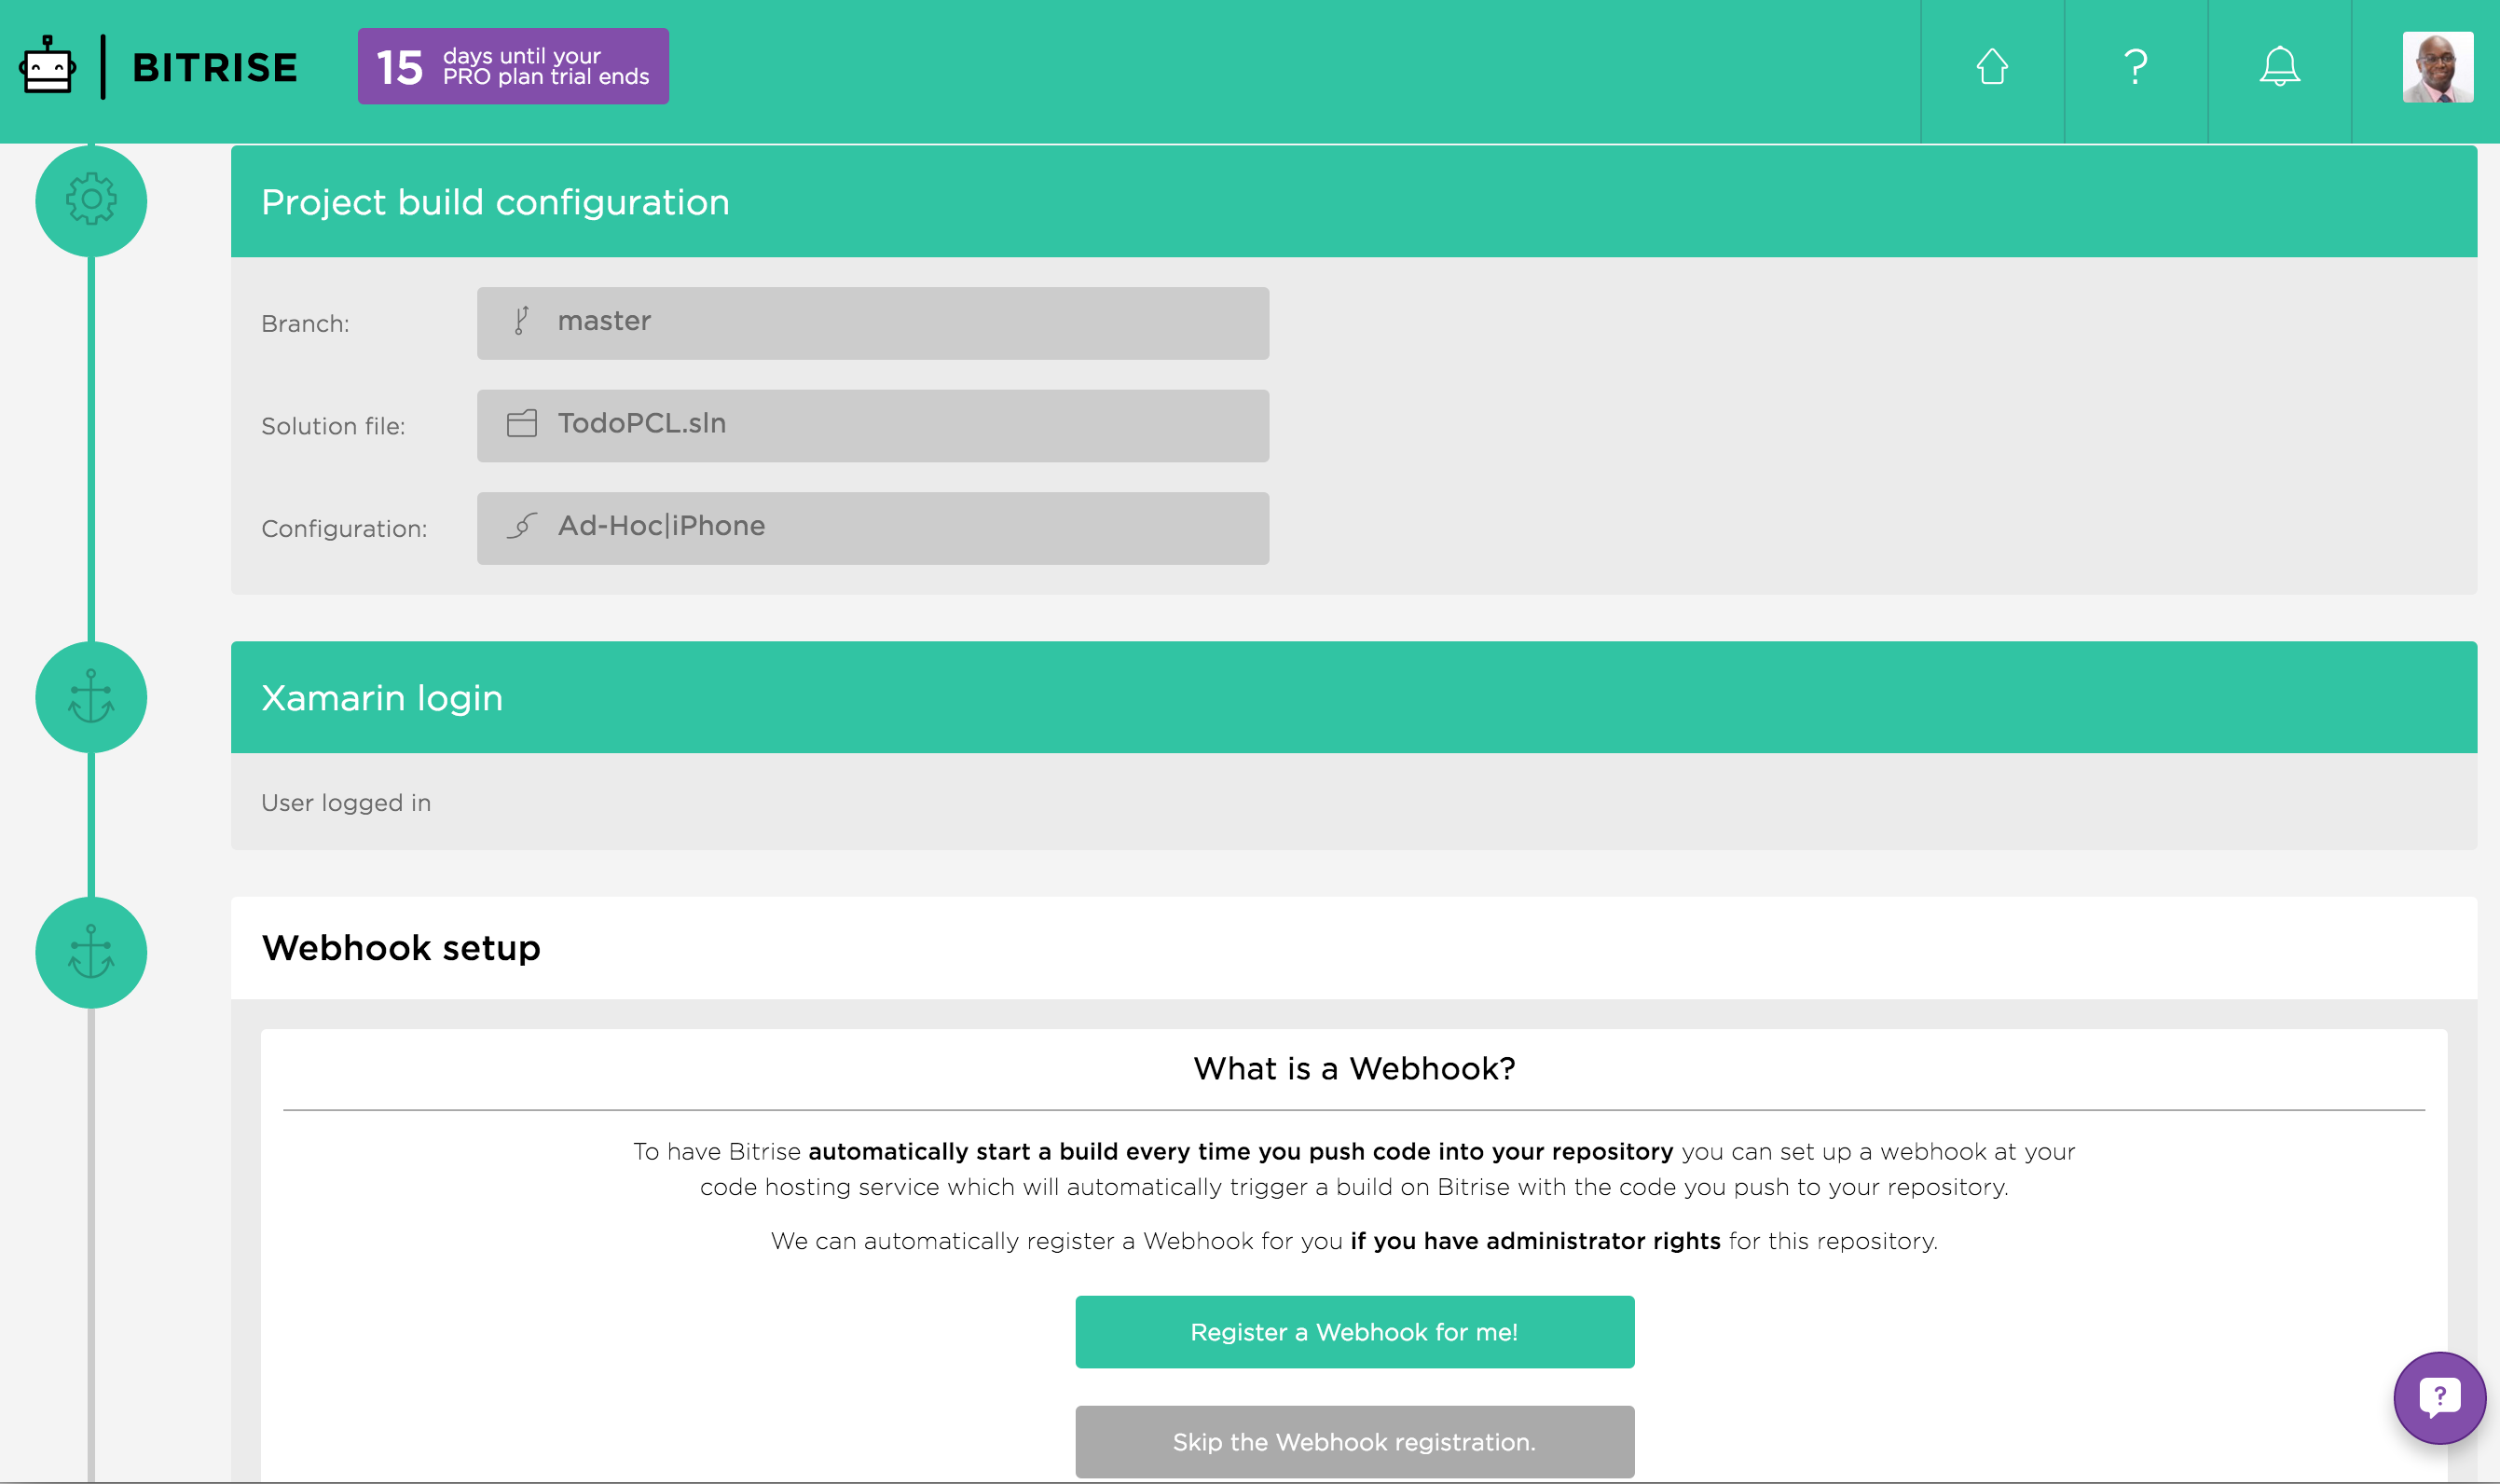
- Bitrise.io will display available Xamarin solutions - select the TodoPCL.sln
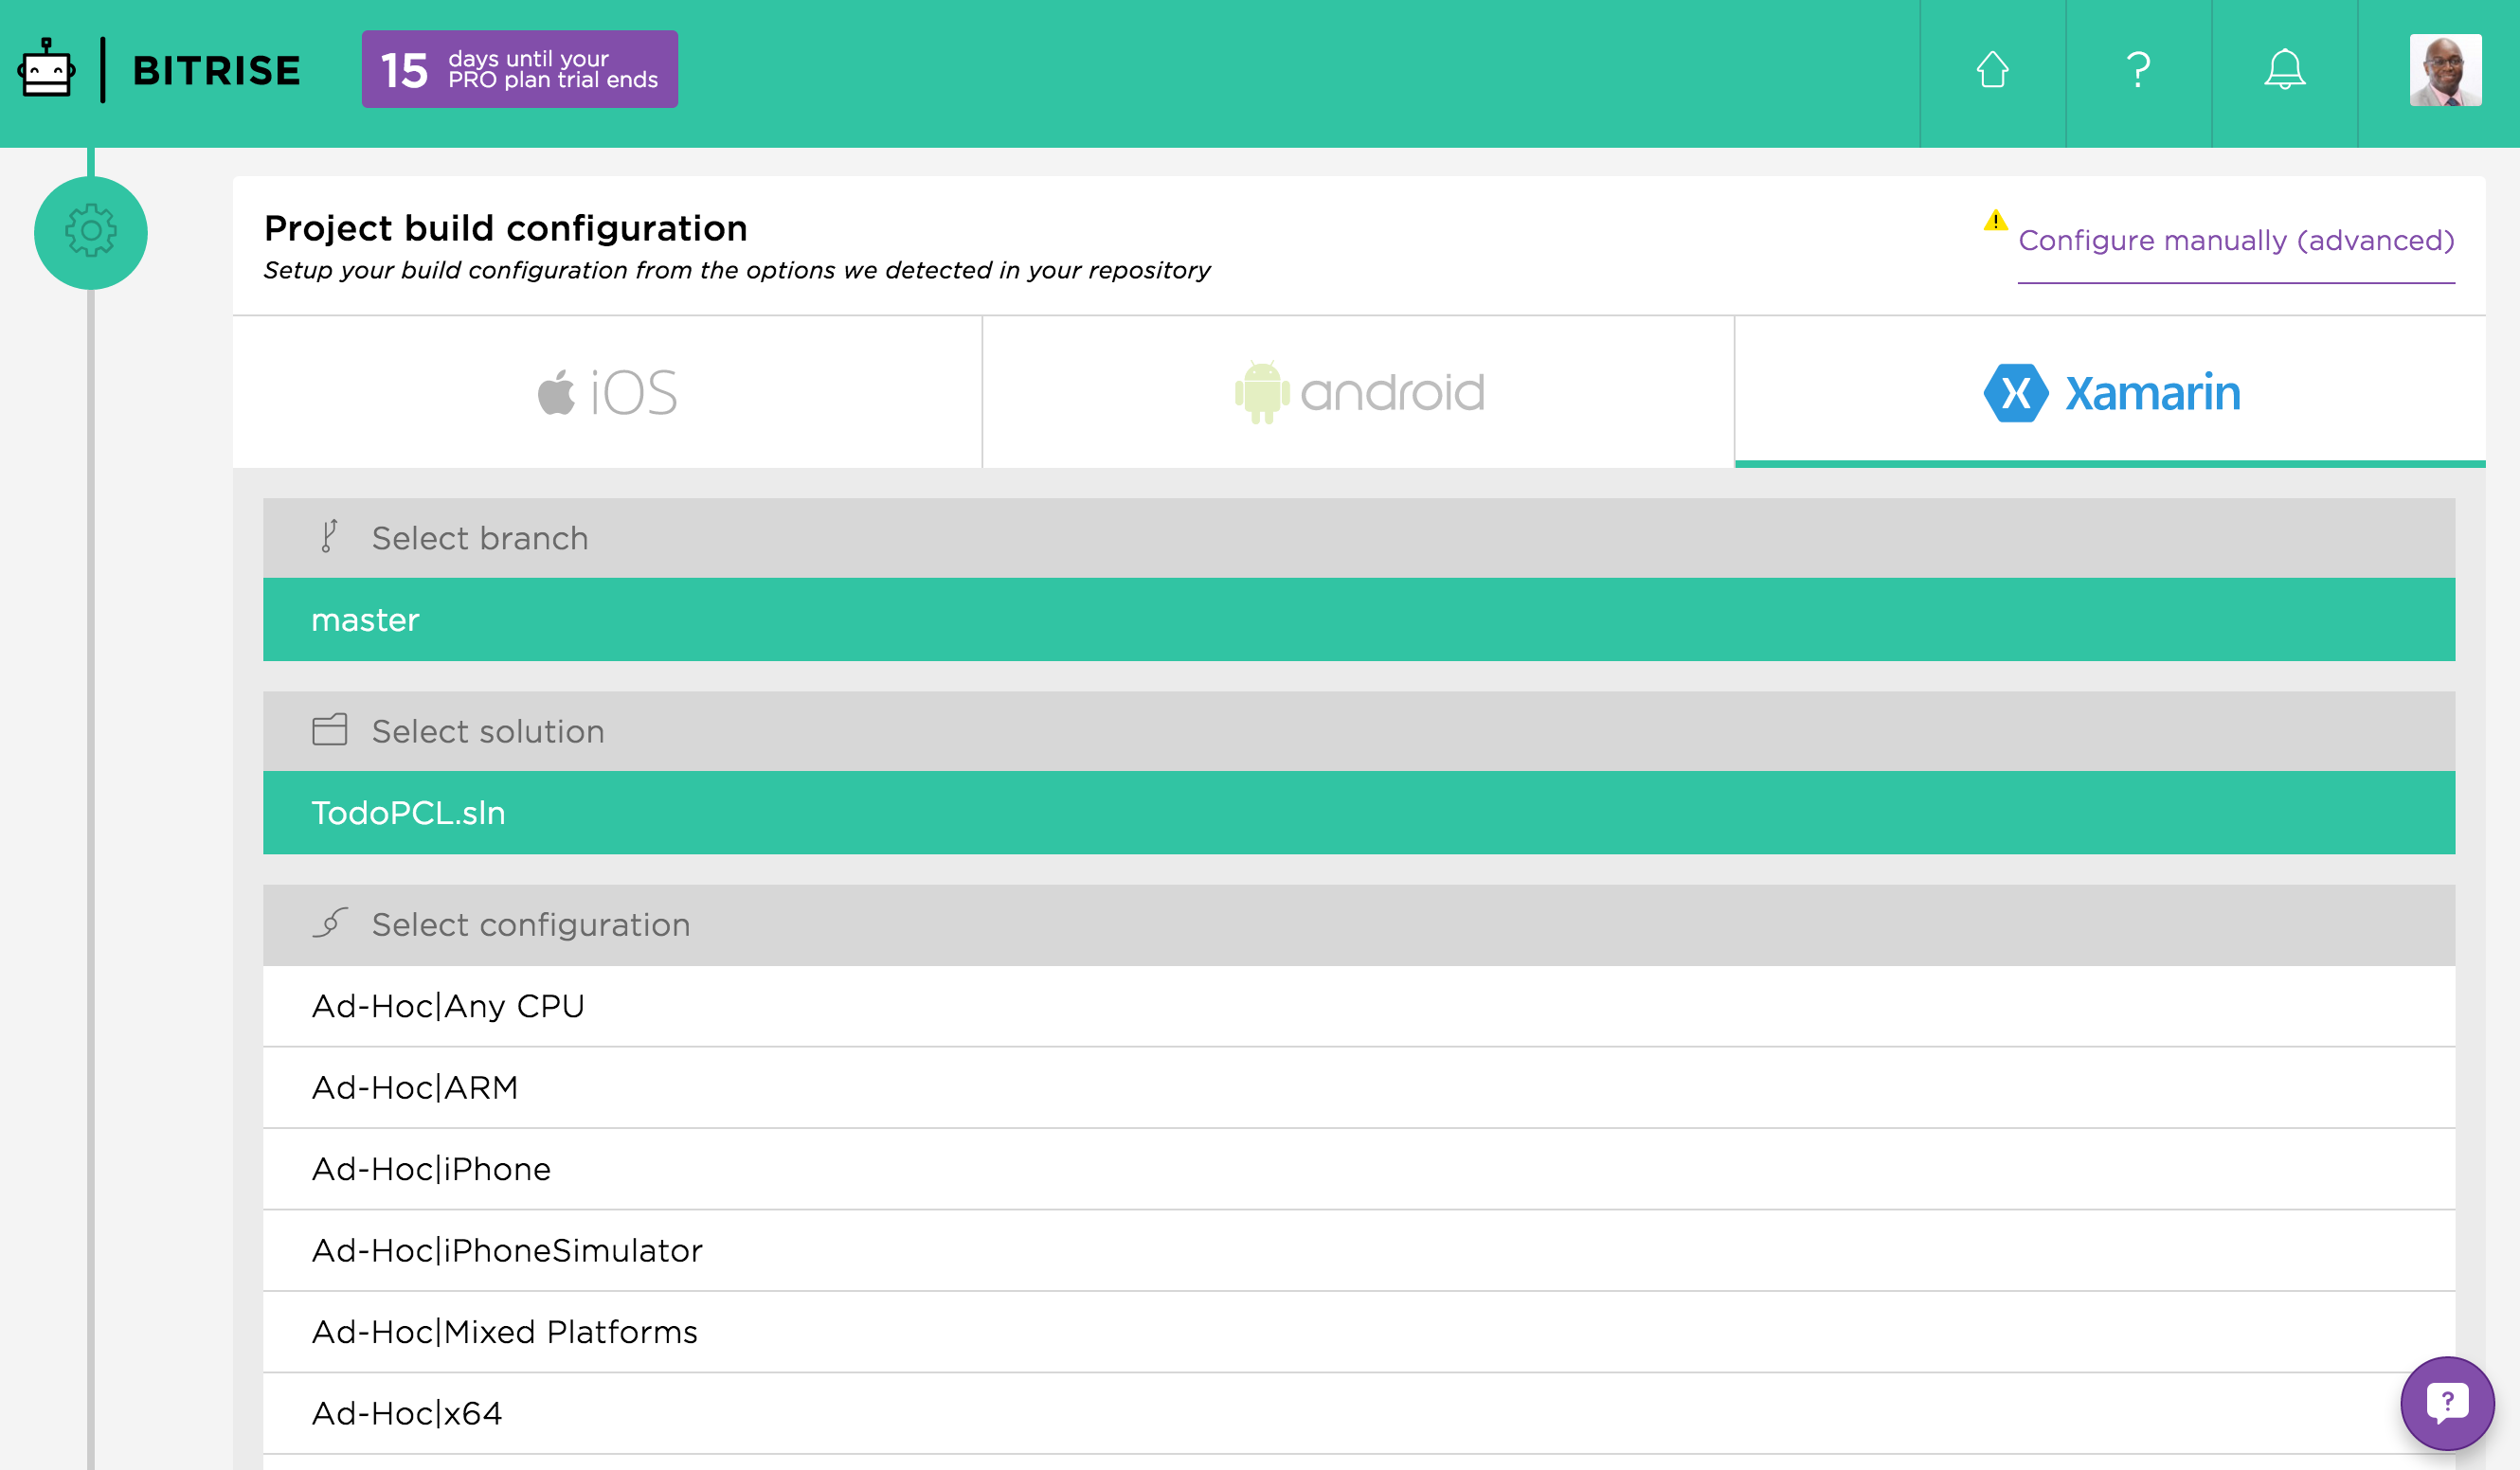
- Select the Ad-Hoc|iPhone build configuration
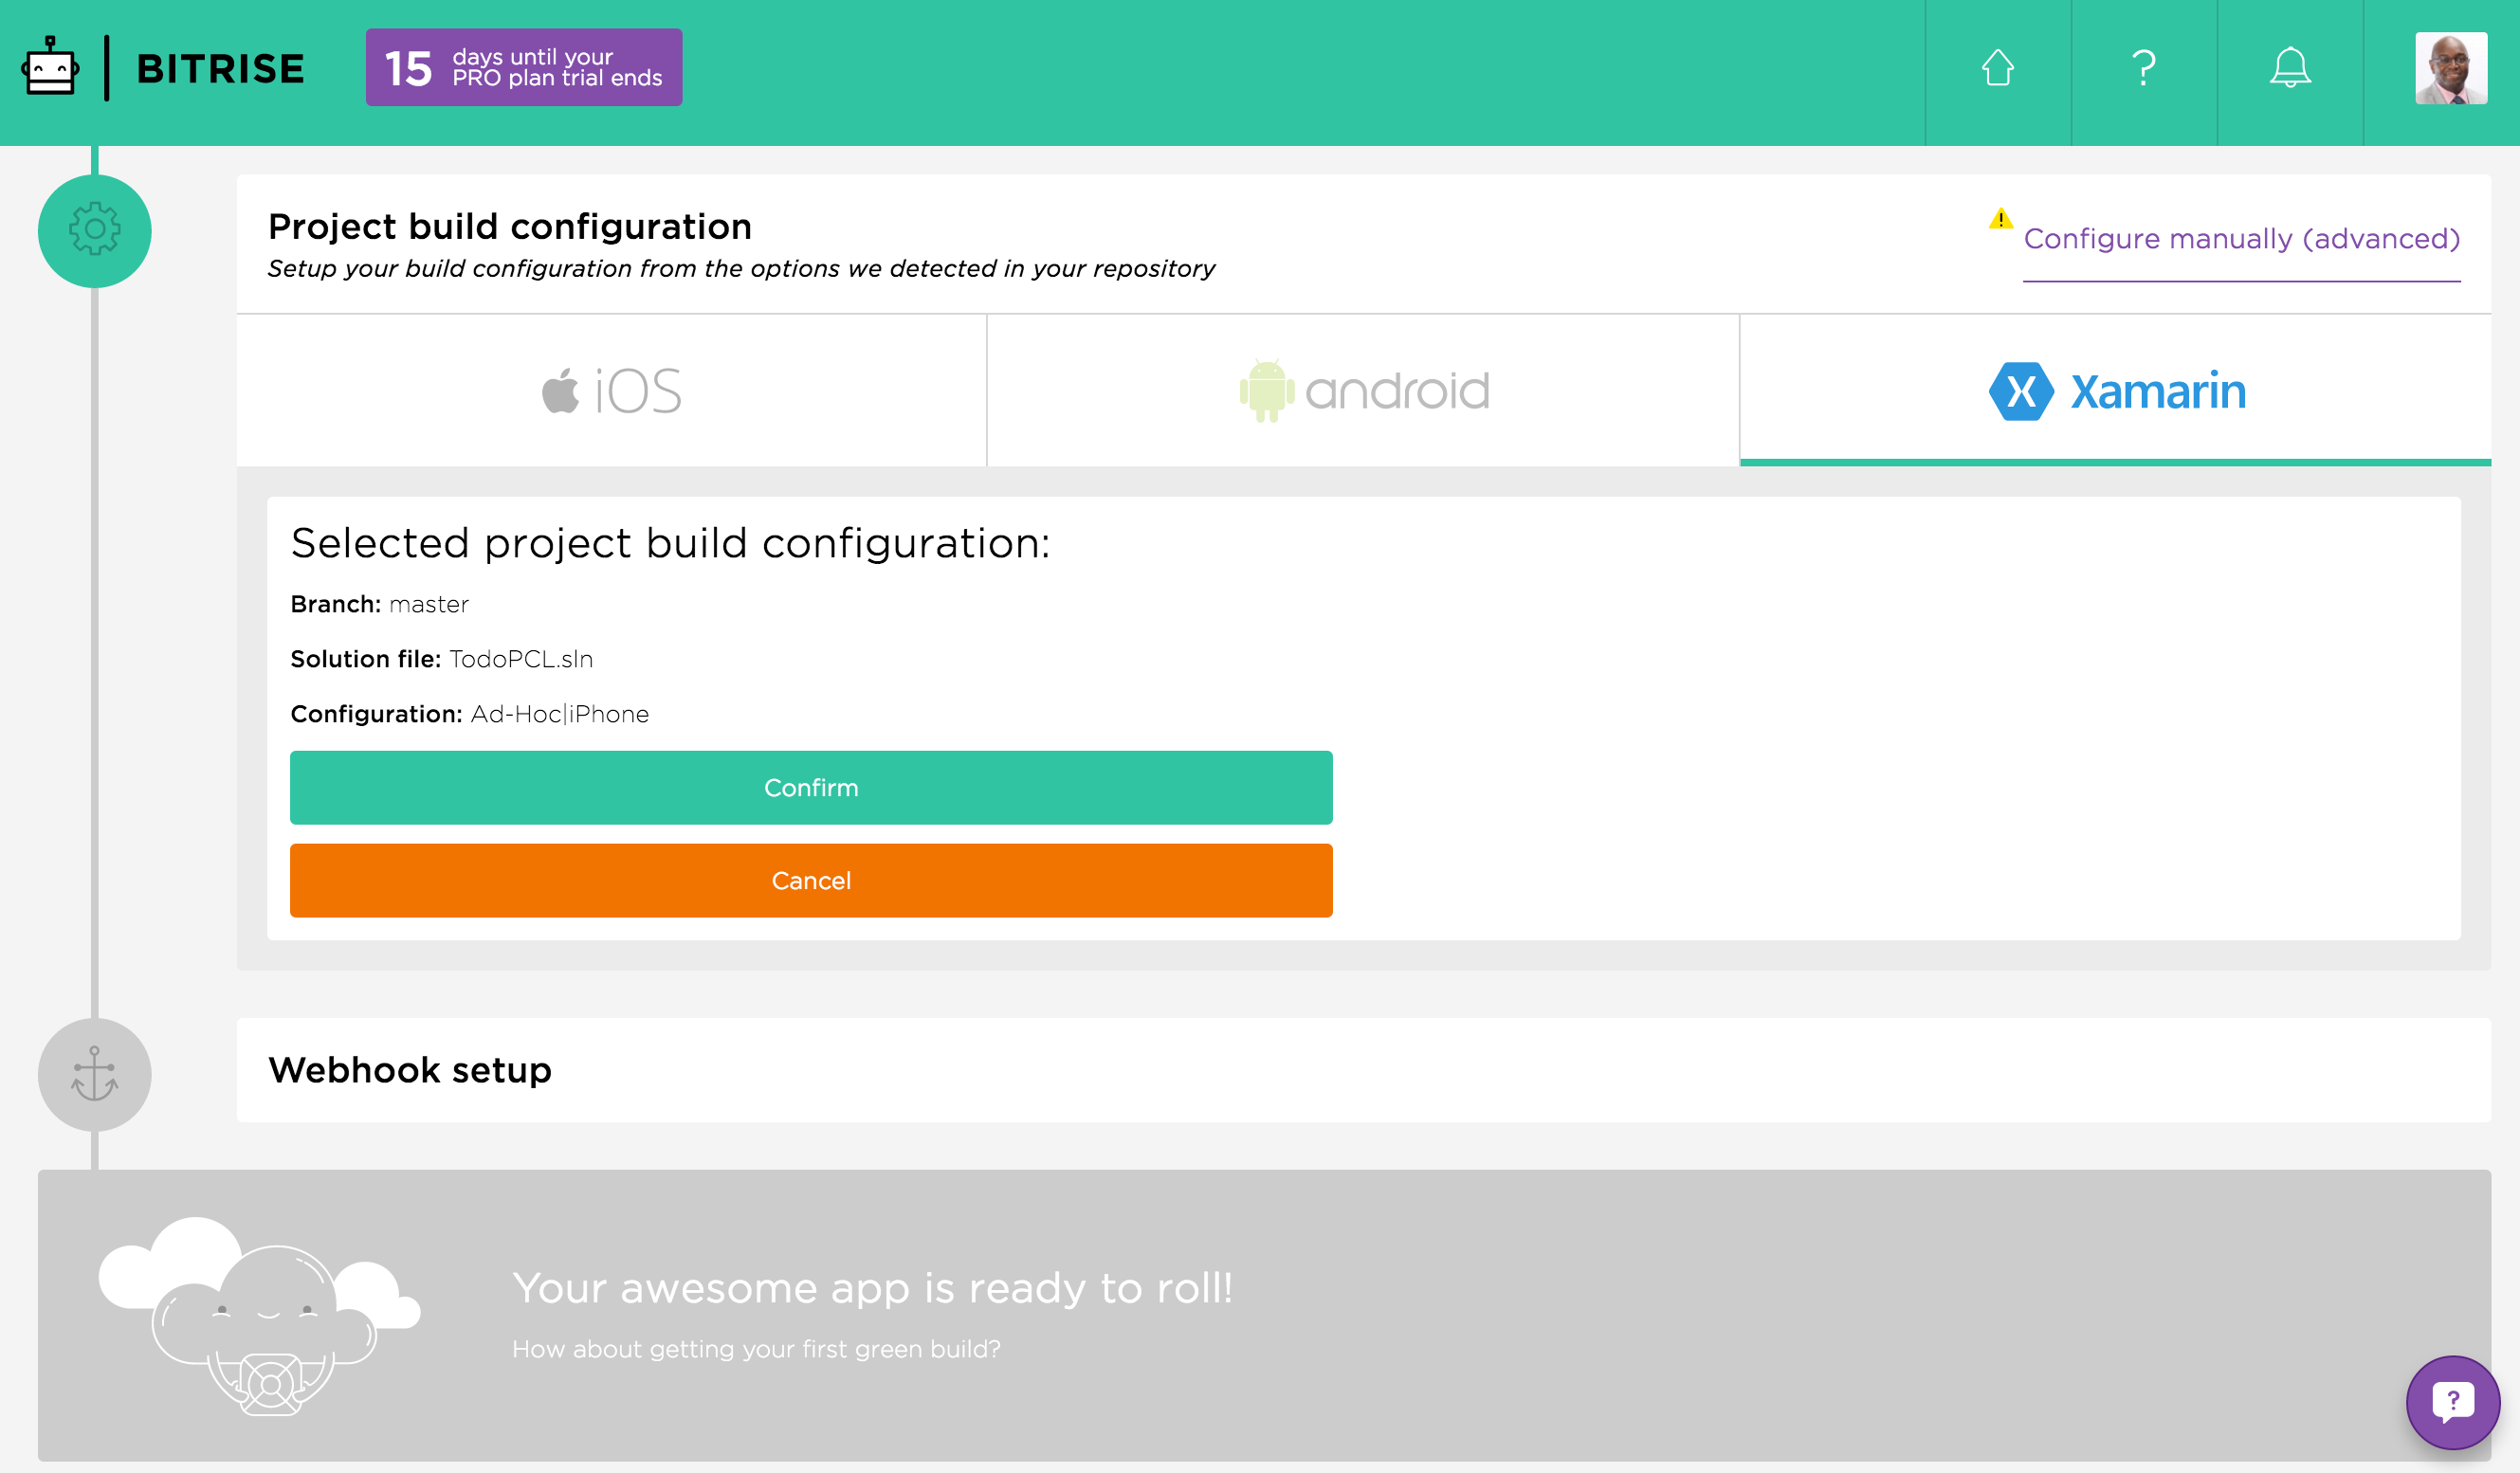
- Enter your Xamarin account credentials - this checks your available Xamarin licenses.
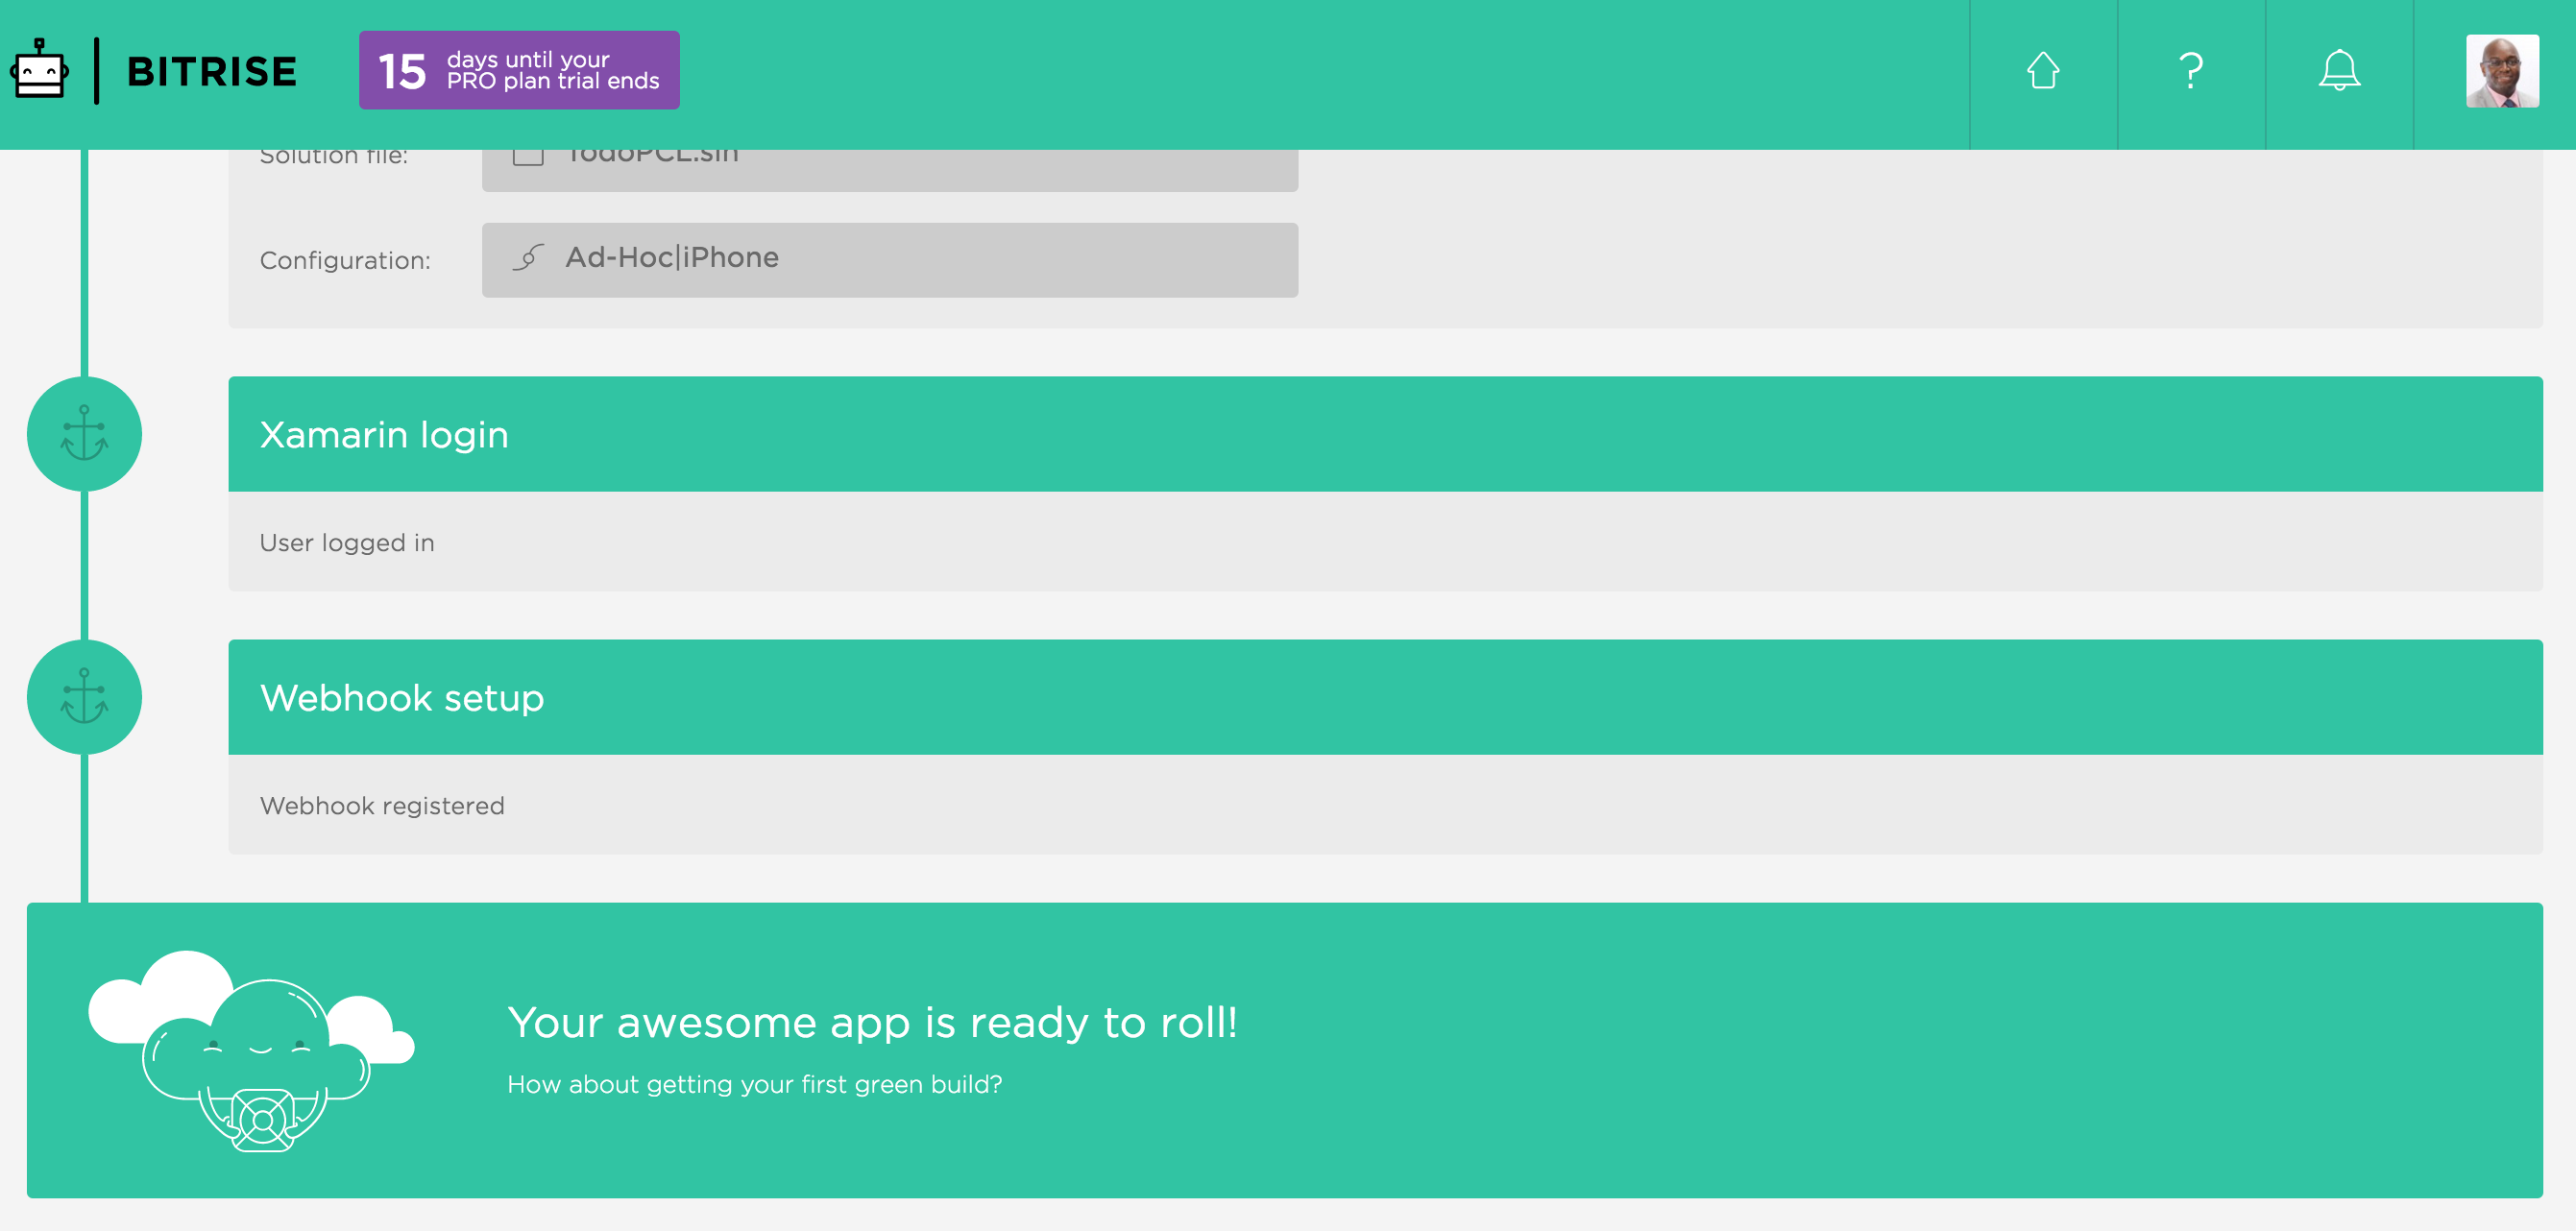
- Setup your webhook by clicking the "Register a webhook for me" button - this makes sure when your repository is pushed; it will trigger a build in Bitrise.io
- Your webhook is setup and you are now ready to perform your first build - click "Your awesome app is ready to roll!"
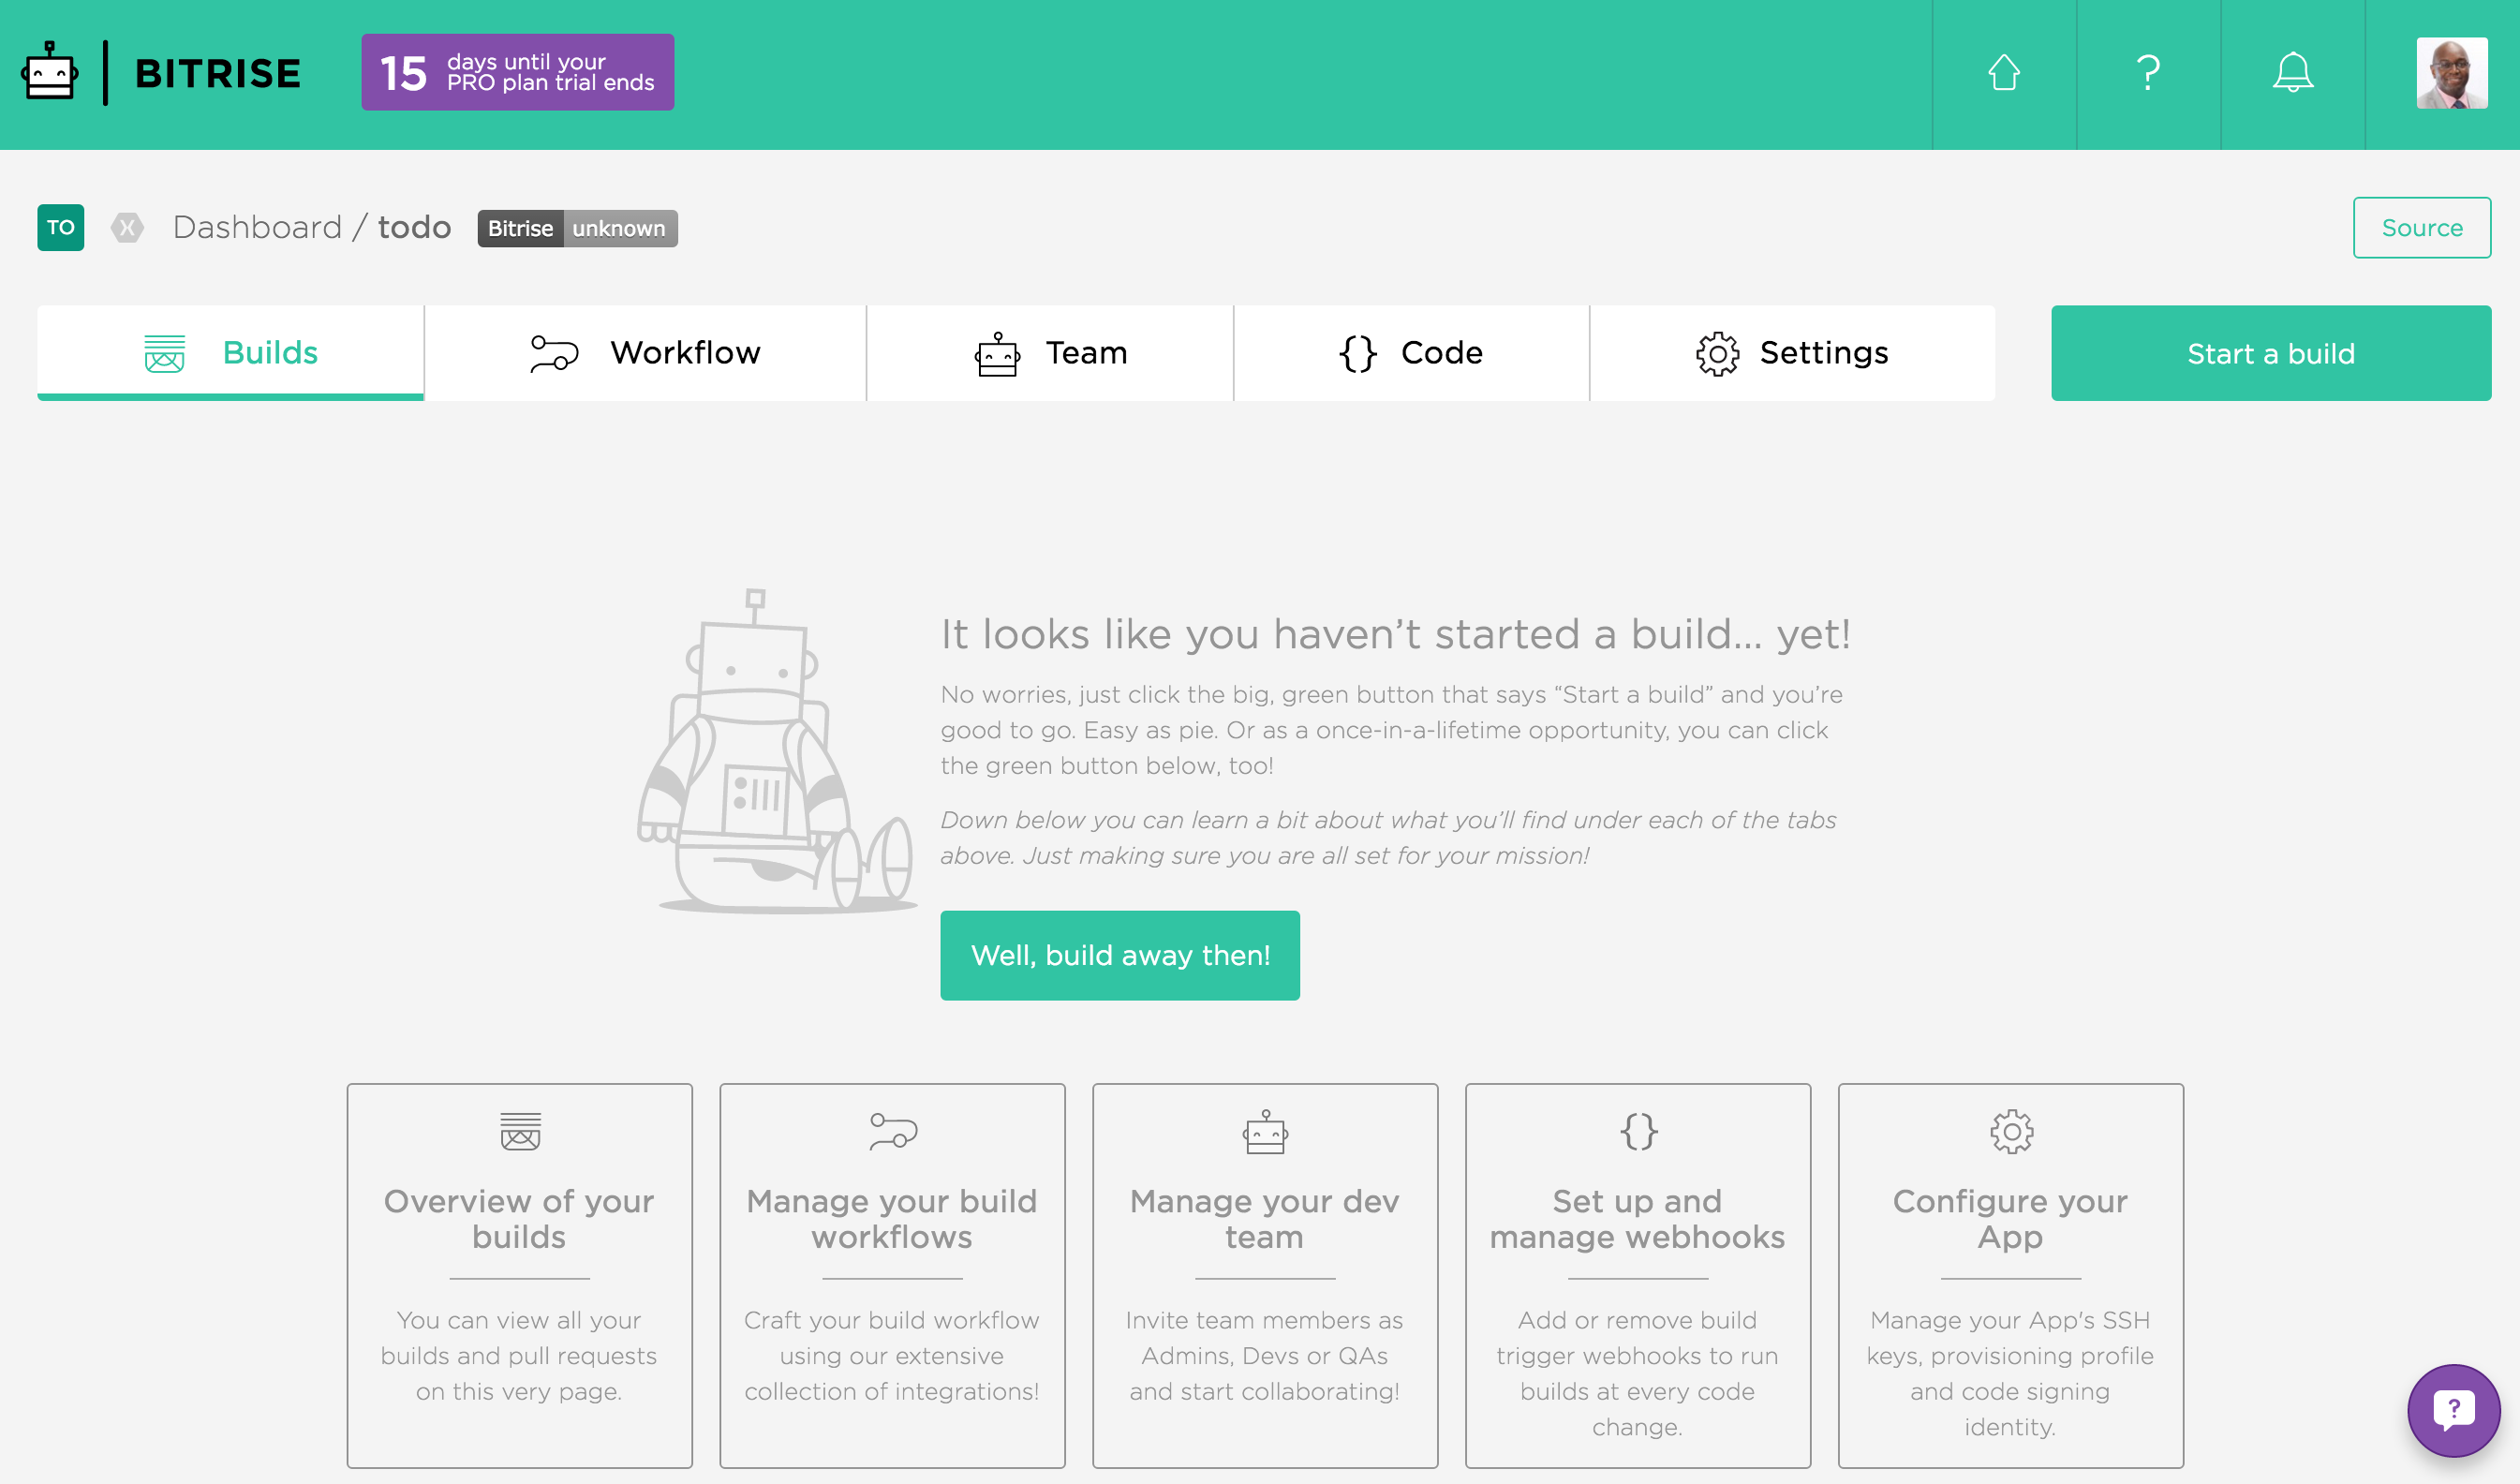
- This leads you to your app dashboard. Click the "Start your Build" button
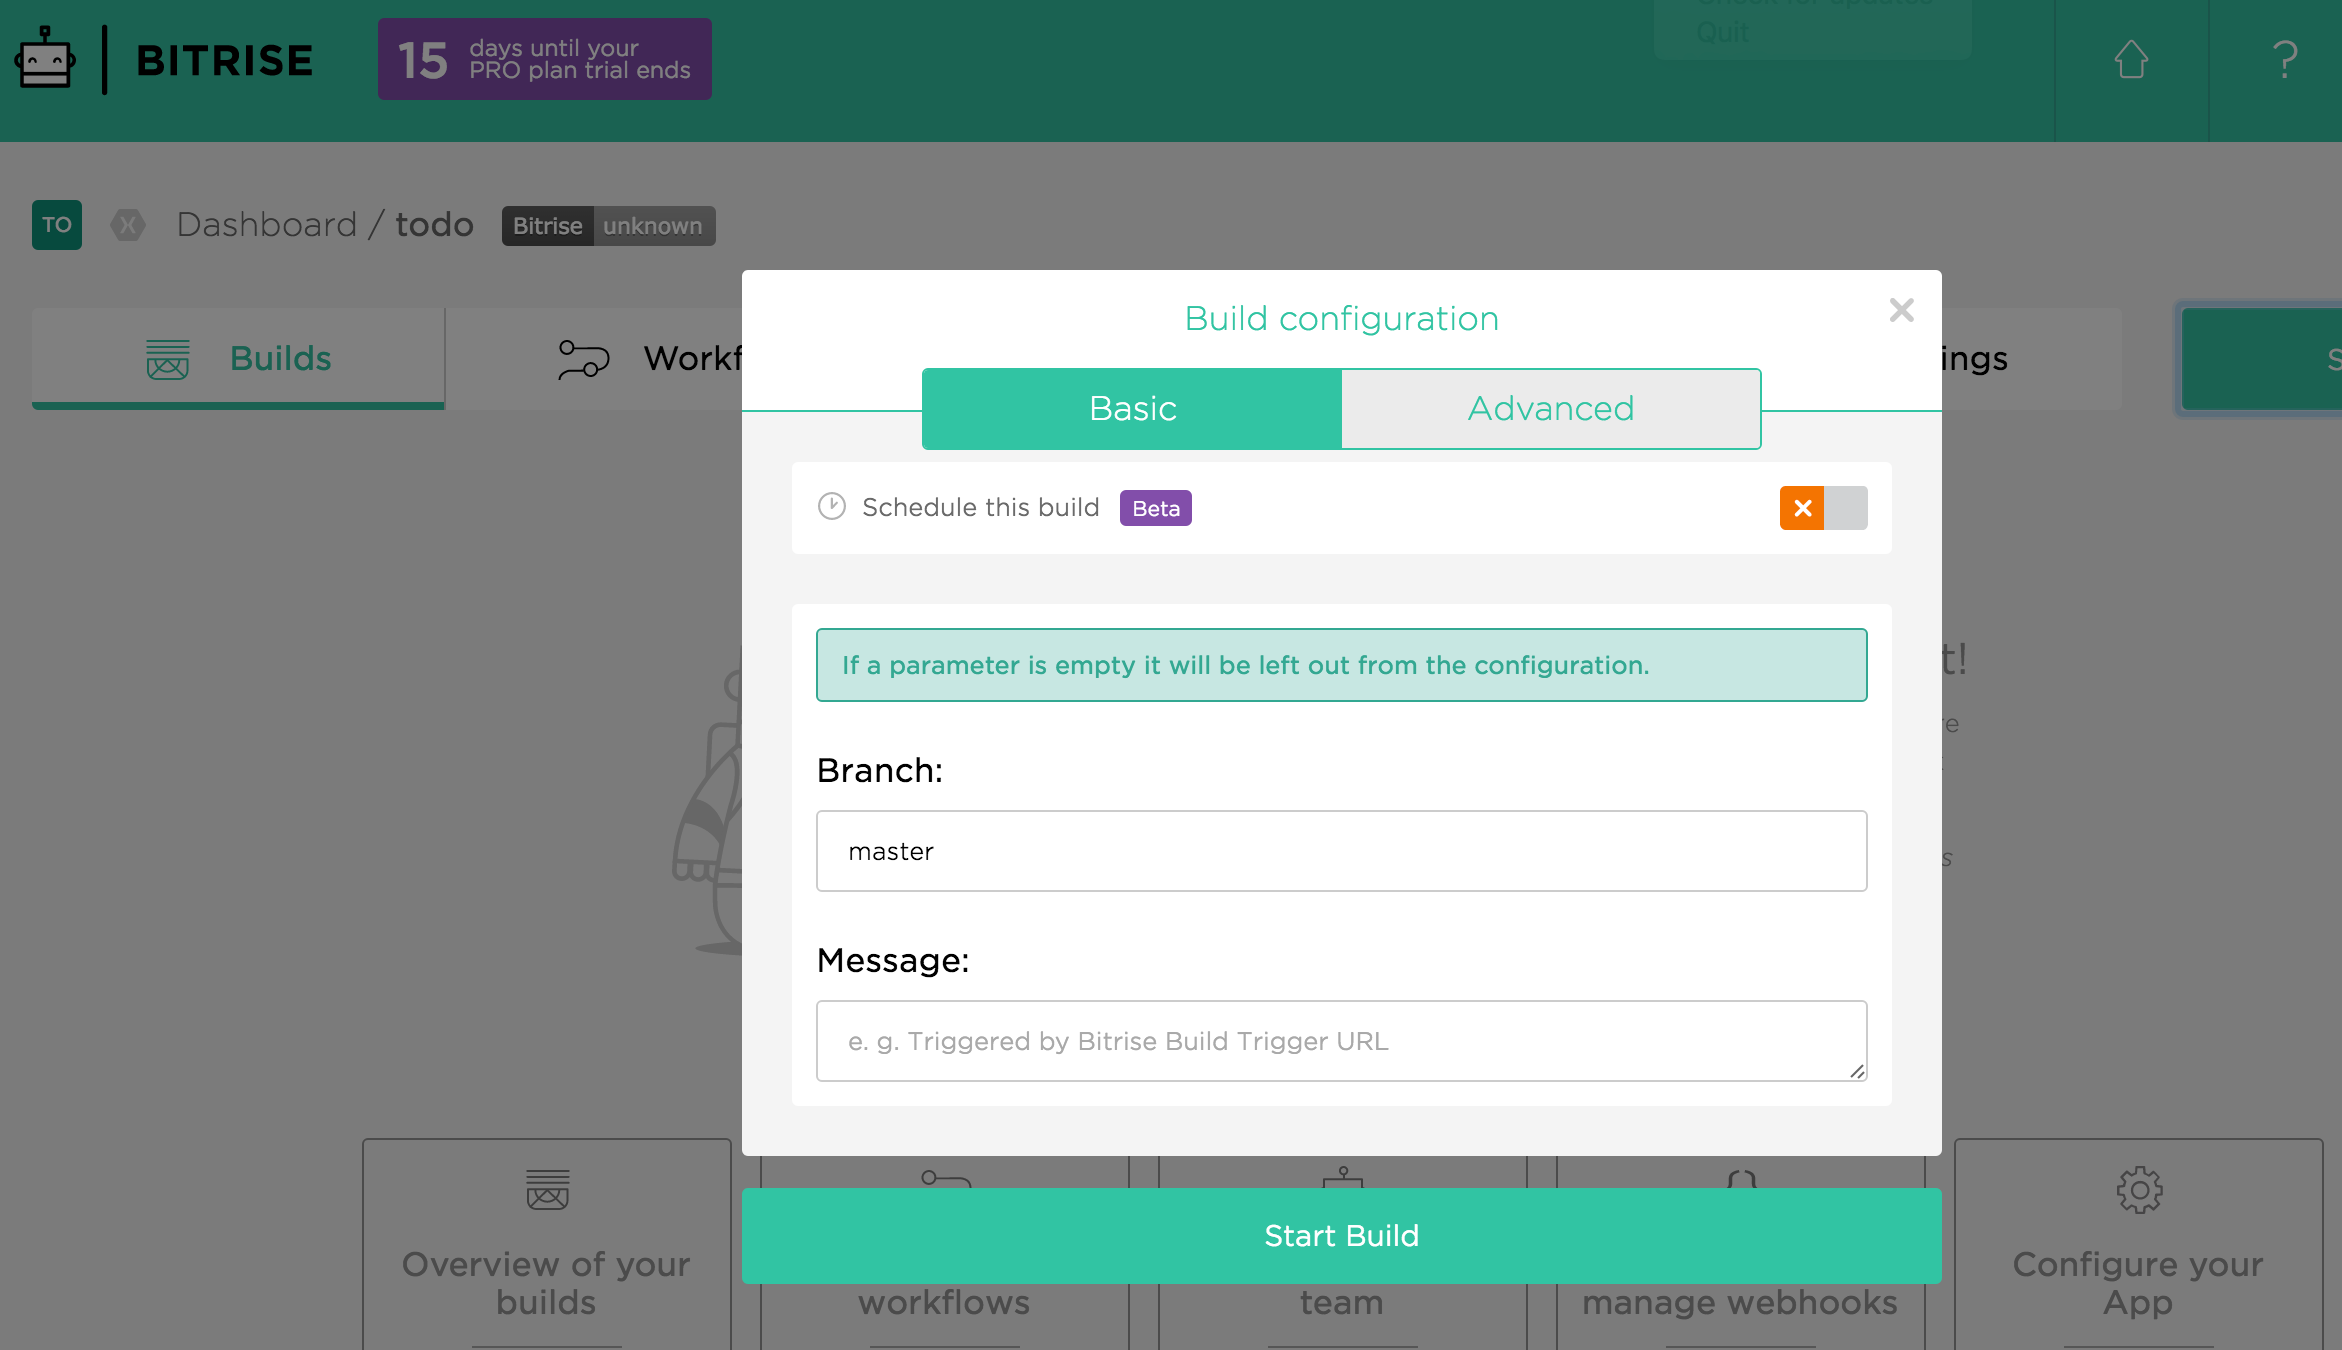
- This will display a Build trigger dialog - defaulted to build your default branch using the default workflow created by Bitrise.io
- The build console will appear displaying the results of your first build
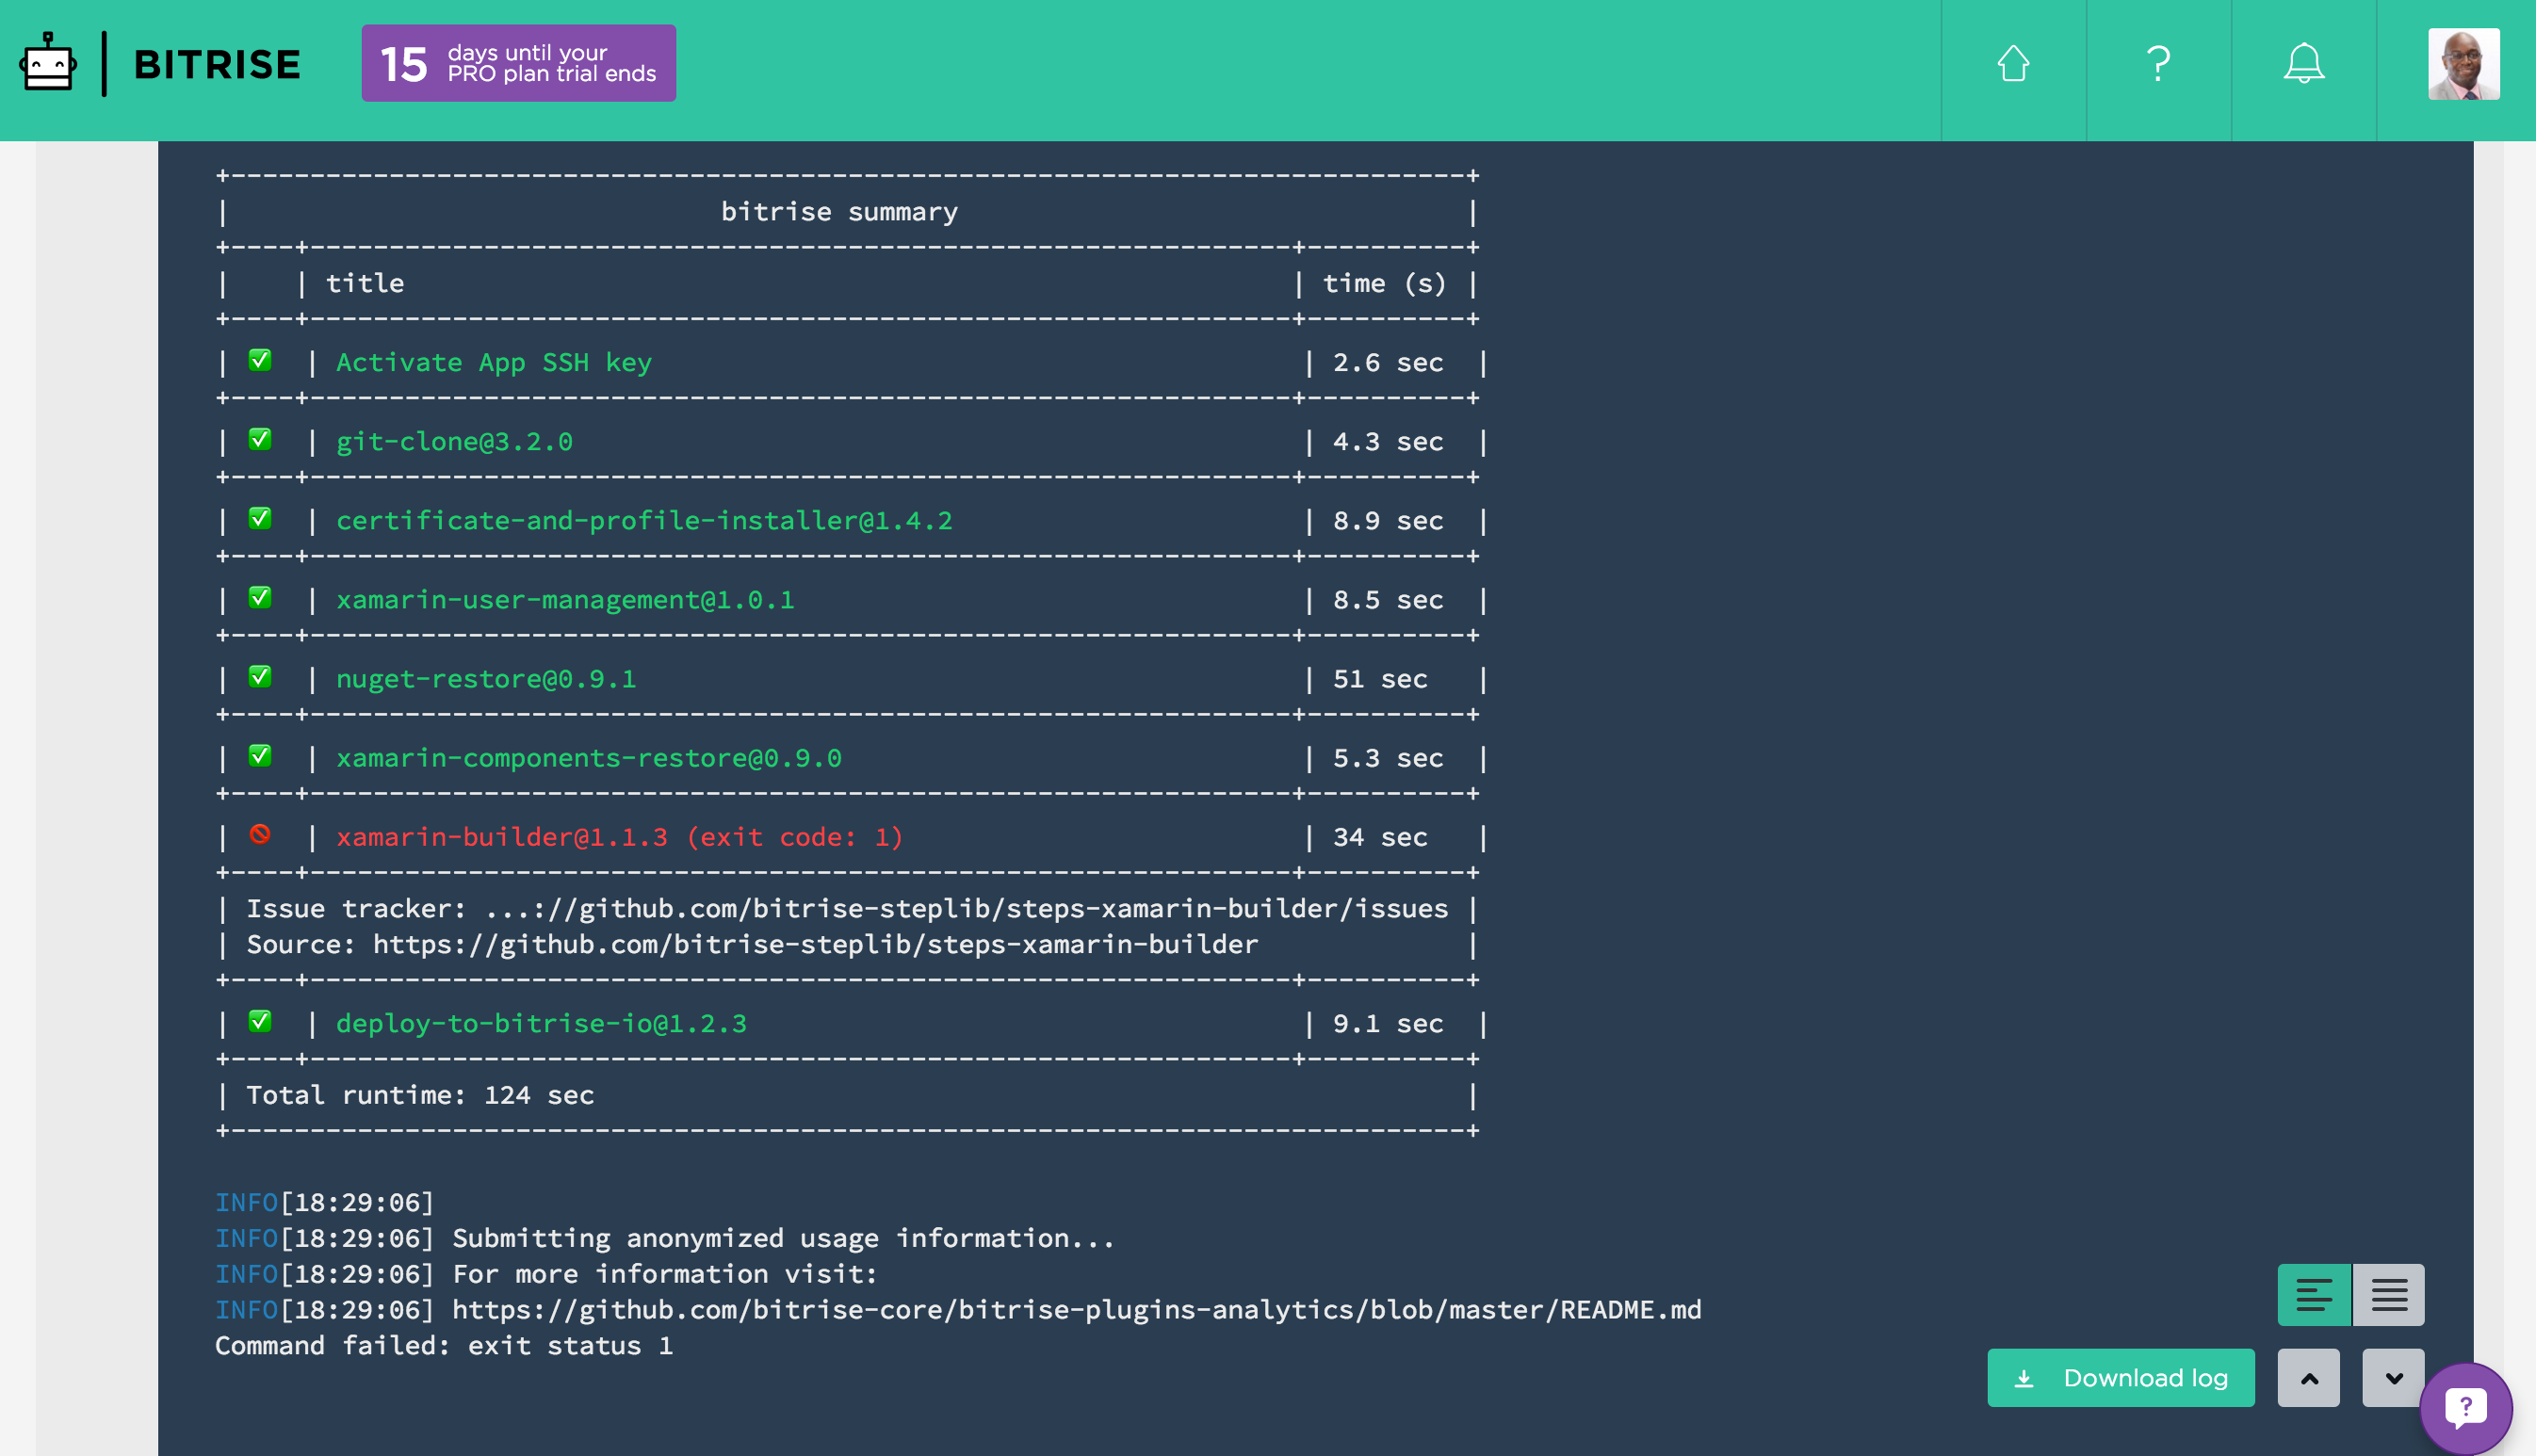
- Bummer - your first build failed.
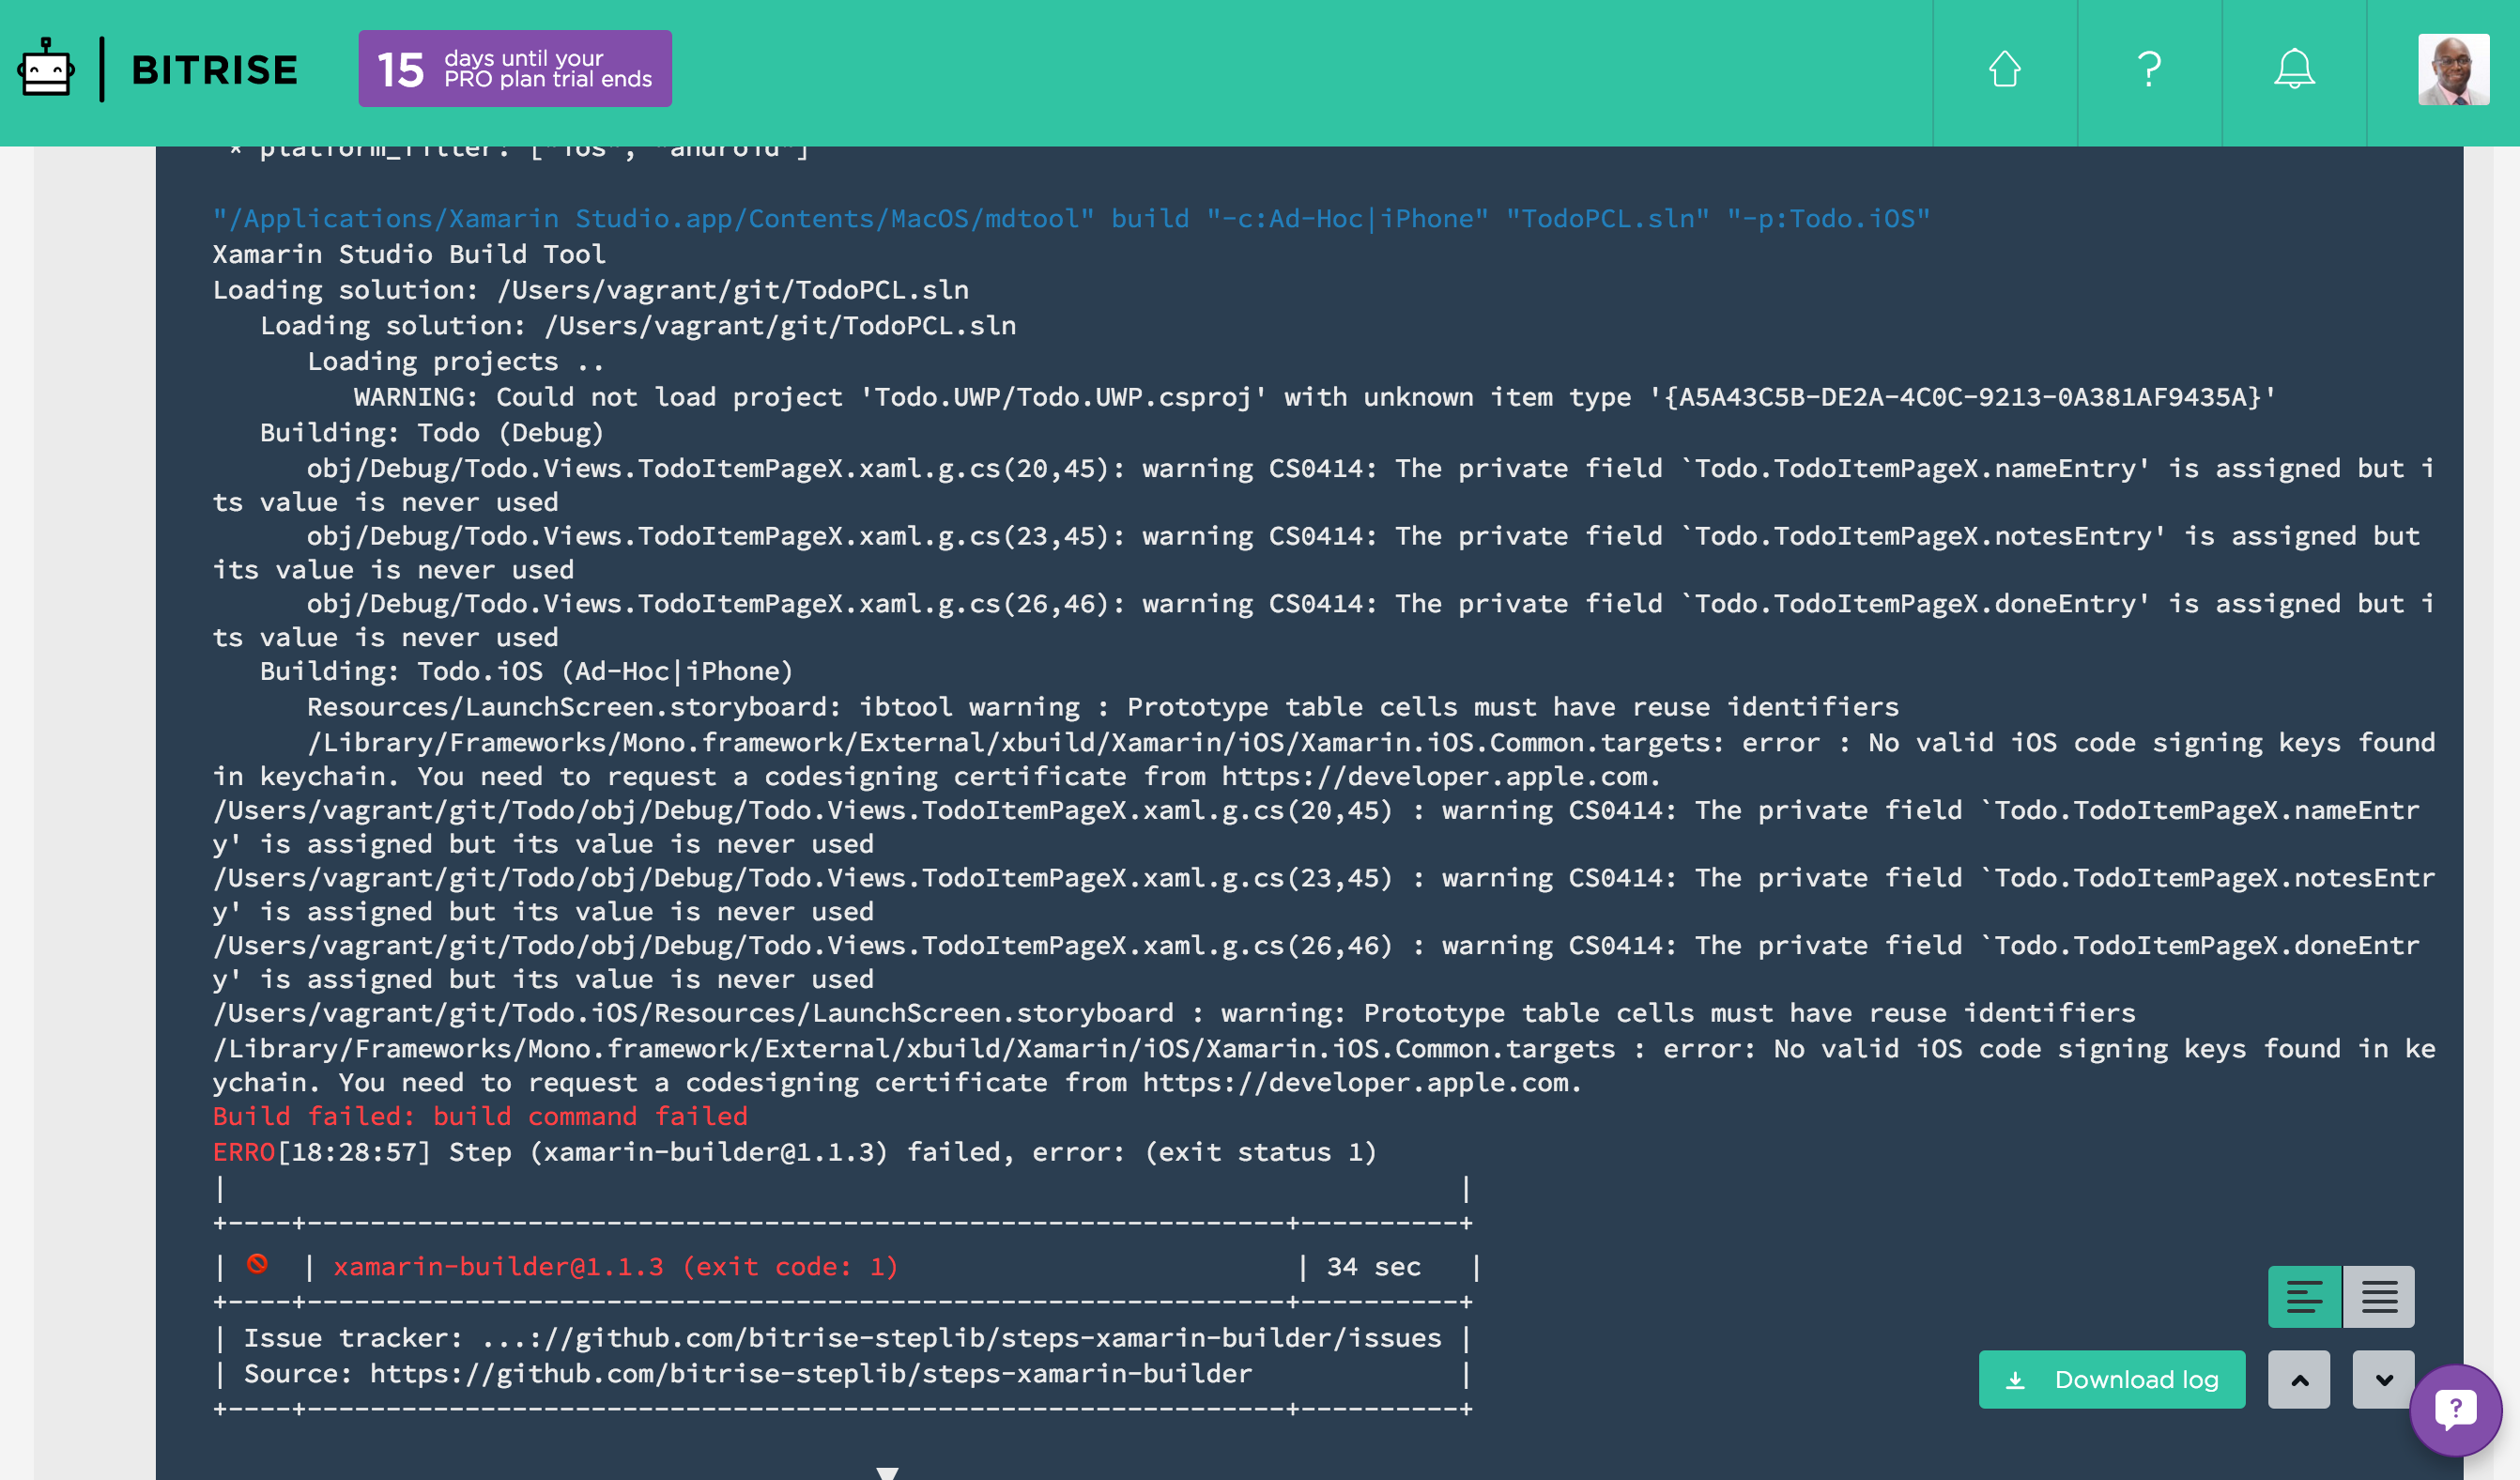
Now the build failure is not a bad thing. In this case it is because we don't have any iOS code signing keys.
I mentioned you would perform your first build - I did not mention if it would pass (yeah - sneaky).
Don't worry in our next post we will work on setting up our app correctly so we don't have this code signing issue and other issues for that matter.